We assume that you’ve already got the idea behind flespi gateway: a device connects to your channel’s IP:port and then flespi magic takes care of all the rest. But what about the very first step — how to configure a device to send telemetry to a certain IP:port? The most experienced hardware engineers in our company remember good old times when the set of tools for device configuration included screwdrivers, wires, connectors, soldering iron, oscilloscope, unicorn hooves, etc. Today I don’t even need to touch the device to configure it! All I need is a laptop and flespi.
Configuring SMPP connection
I’ve got Teltonika FMB920 with a SIM-card installed, and a channel operated via Teltonika protocol. Hmm, how do I pair them up?
All modern trackers support configuration via SMS — the feature I am going to use here. To send a configuration command to the tracker in a text message I need to set up an SMPP account.
Note: SMPP — Short Message Peer-to-Peer is an open standard protocol designed to provide a communication interface to transfer SMS.
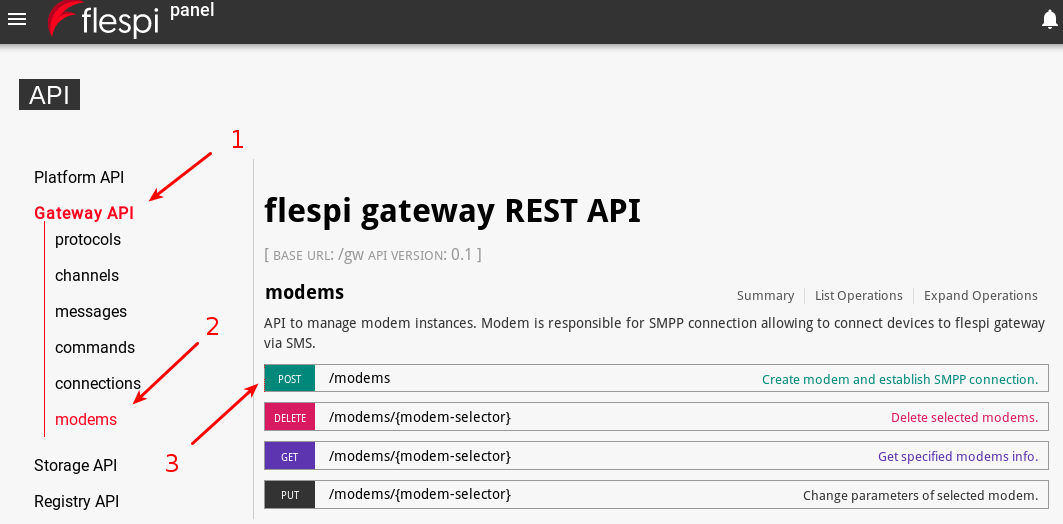
SMPP services provide simple methods to send and receive text messages. Designed for high-load services and guaranteeing reliable message delivery SMPP protocol is a rather complex entity. But if you use flespi, all the complexity is invisible to you. You only need to provide SMPP account credentials. Basic SMPP instance in the flespi platform is a modem. You can create a modem instance with a gateway POST gw/modems REST API call:
There are many SMPP service providers that you can use to set up SMS communication with your trackers: cardboardfish.com, smsglobal.com, clickatell.com, infobip.com, etc. So before doing anything else, you need to sign up for the services with one of the SMPP providers. The result should be a URI to establish an SMPP connection and login details to authorize. This is enough to create a modem instance (establish an SMPP connection).
Note: according to platform limitations you can create only one custom modem instance in the Free account. If you entered wrong credentials or want to add another instance, use PUT /gw/modems method to edit data or DELETE /gw/modems to delete an outdated instance and create a new one.
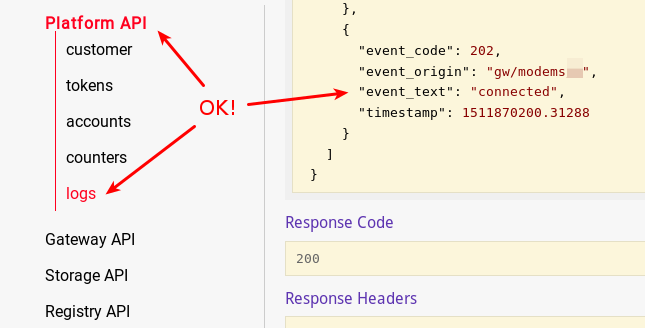
To check that SMPP connection was successful, make a GET /platform/logs request.
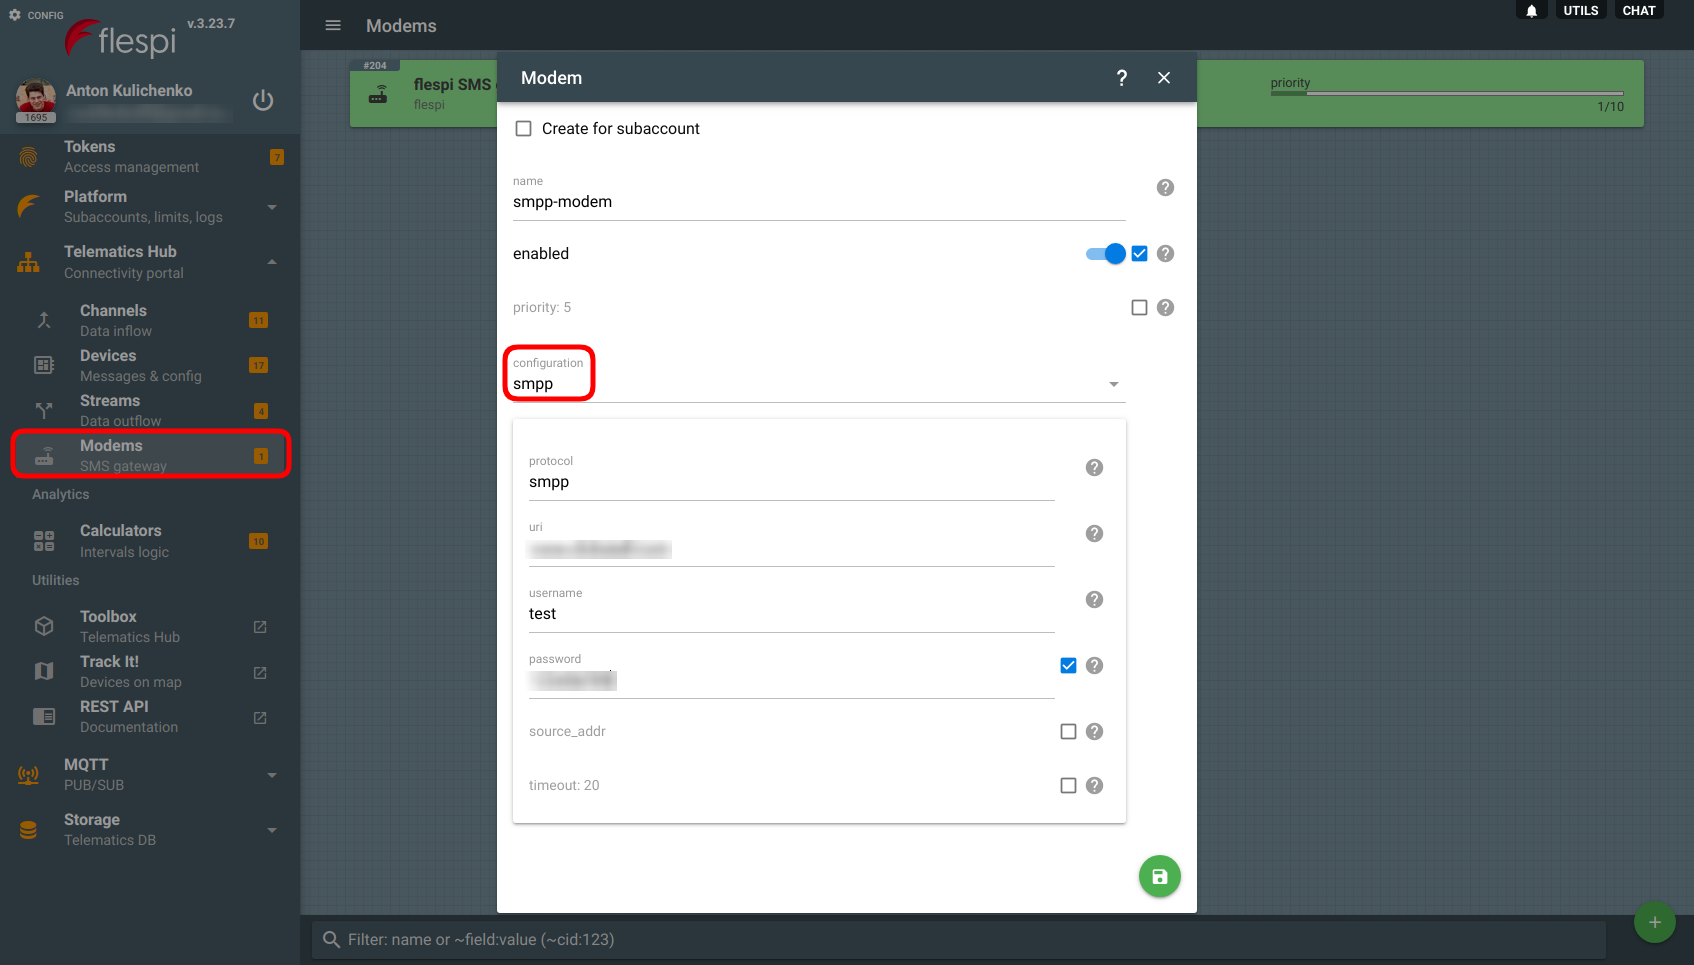
Creating modems is also possible from the UI of the flespi panel:
Pick the proper modem type, enter valid credentials, click Save, and a new modem is ready to use.
Sending configuration commands to the tracker
Well done. The next step is to send configuration commands to the device. But which ones? And how?
First, you need to create a flespi device for your tracker. Since you intend to send SMS, you will have to specify ident, phone number, SMS login (if any), and SMS Password in the configuration.
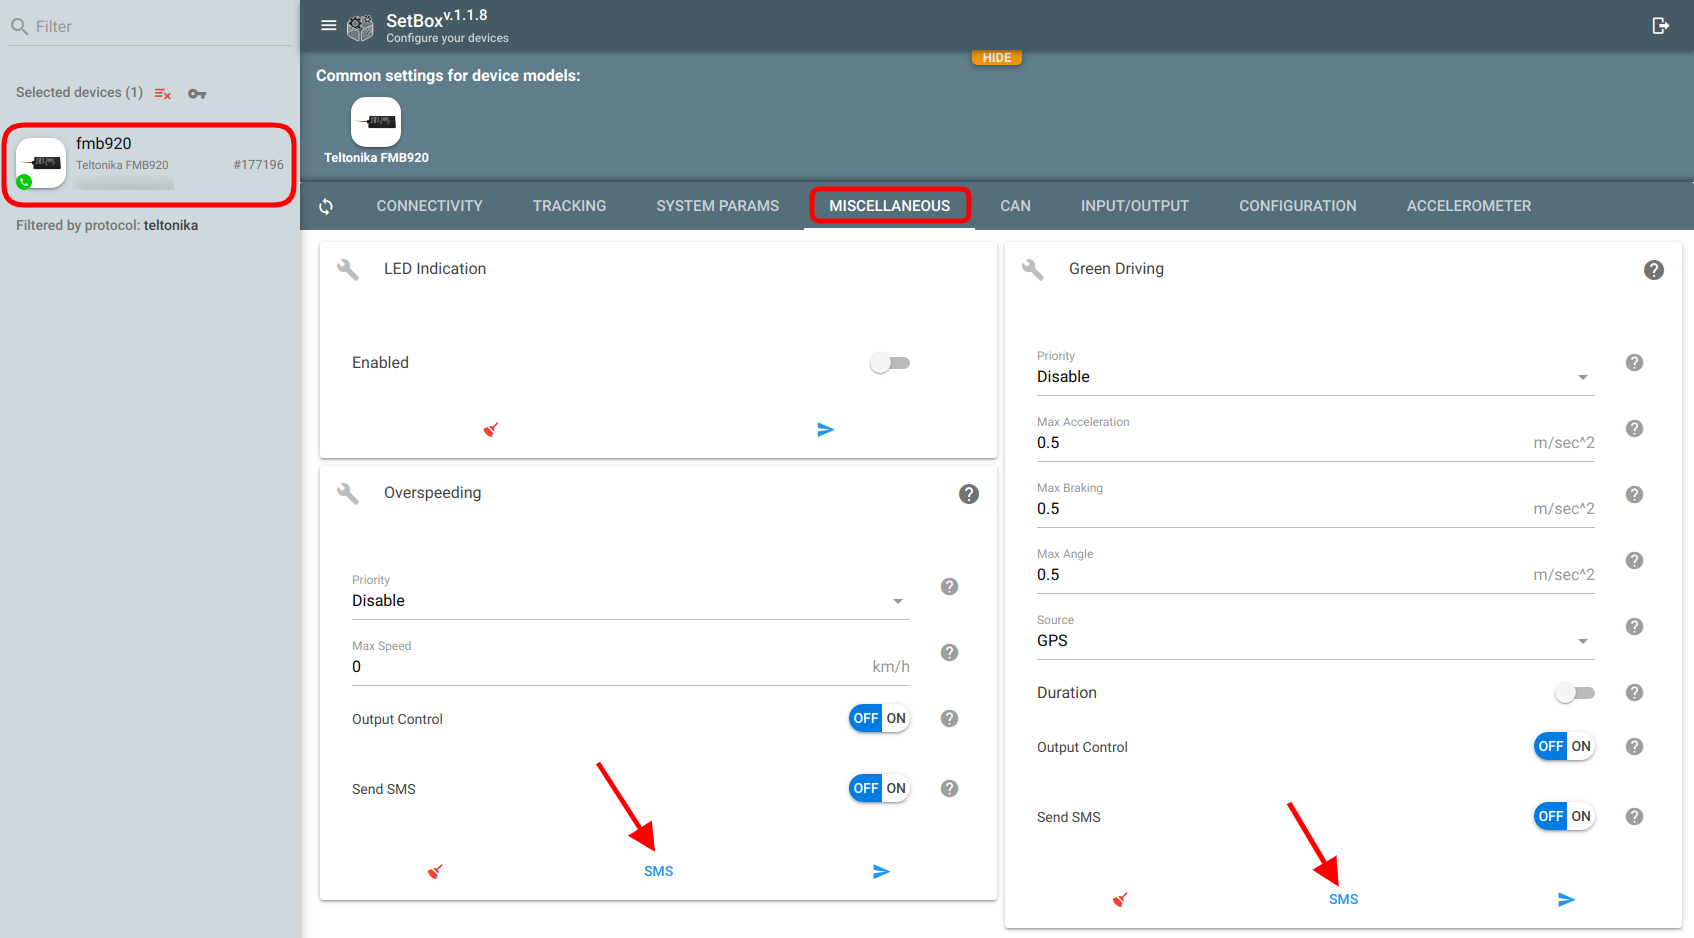
Then, you can either use the graphical interface to configure the device
in a dedicated configuration tool called SetBox:
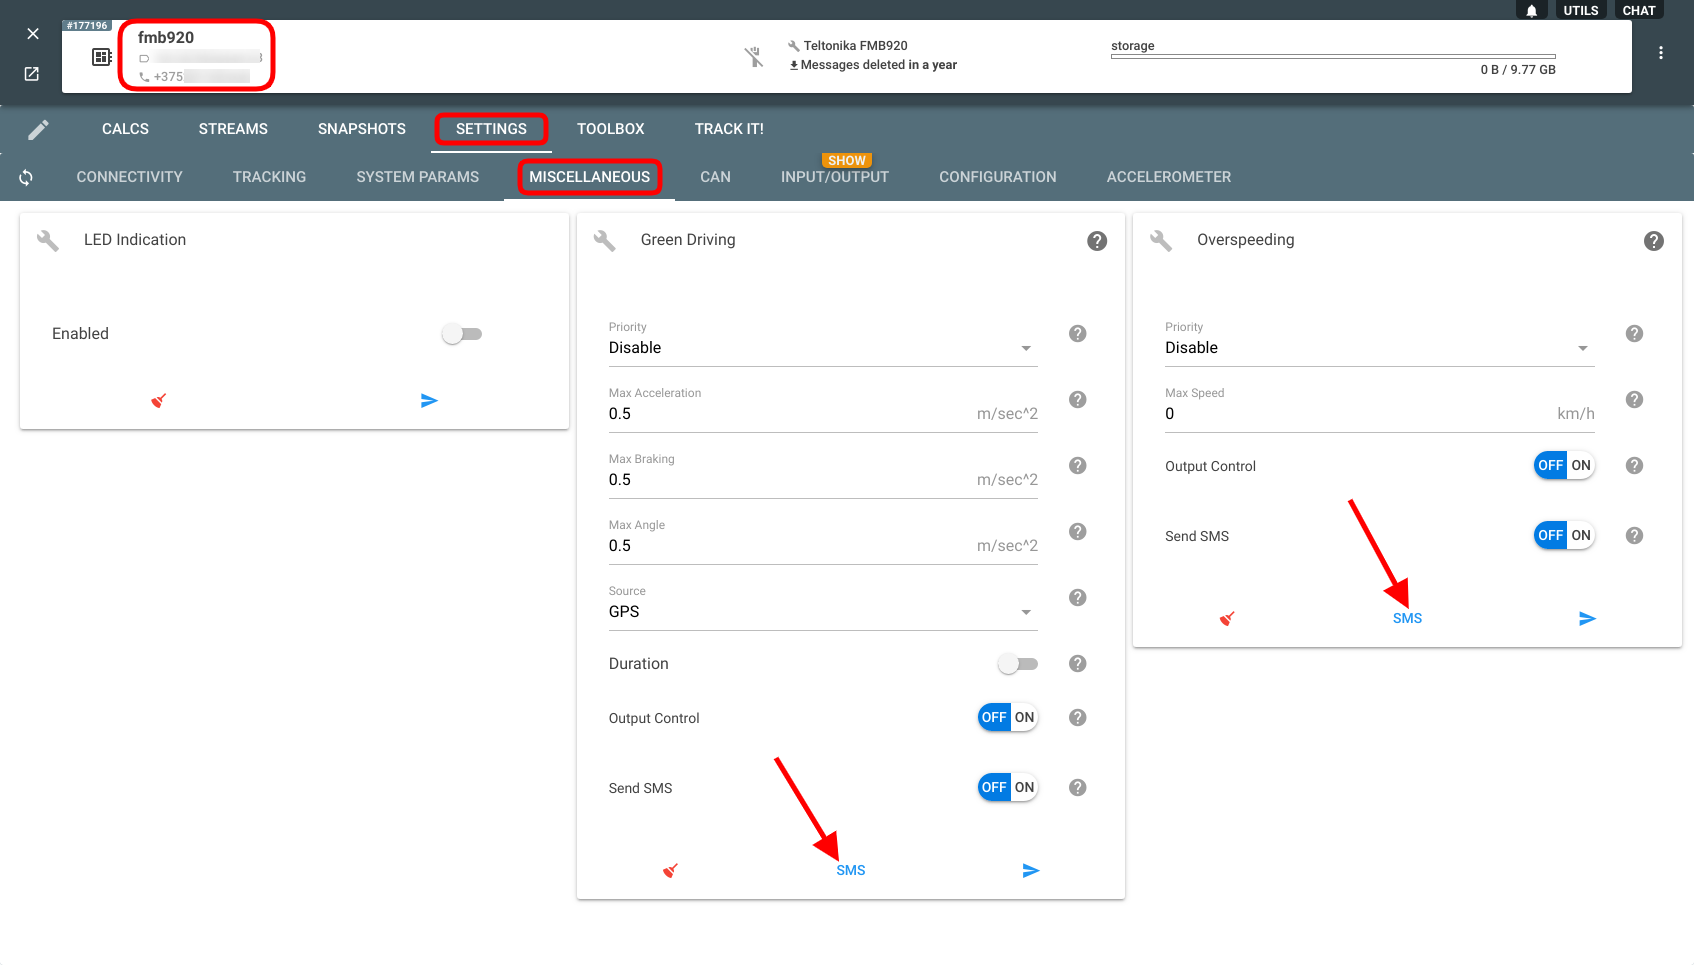
or in the flespi panel:
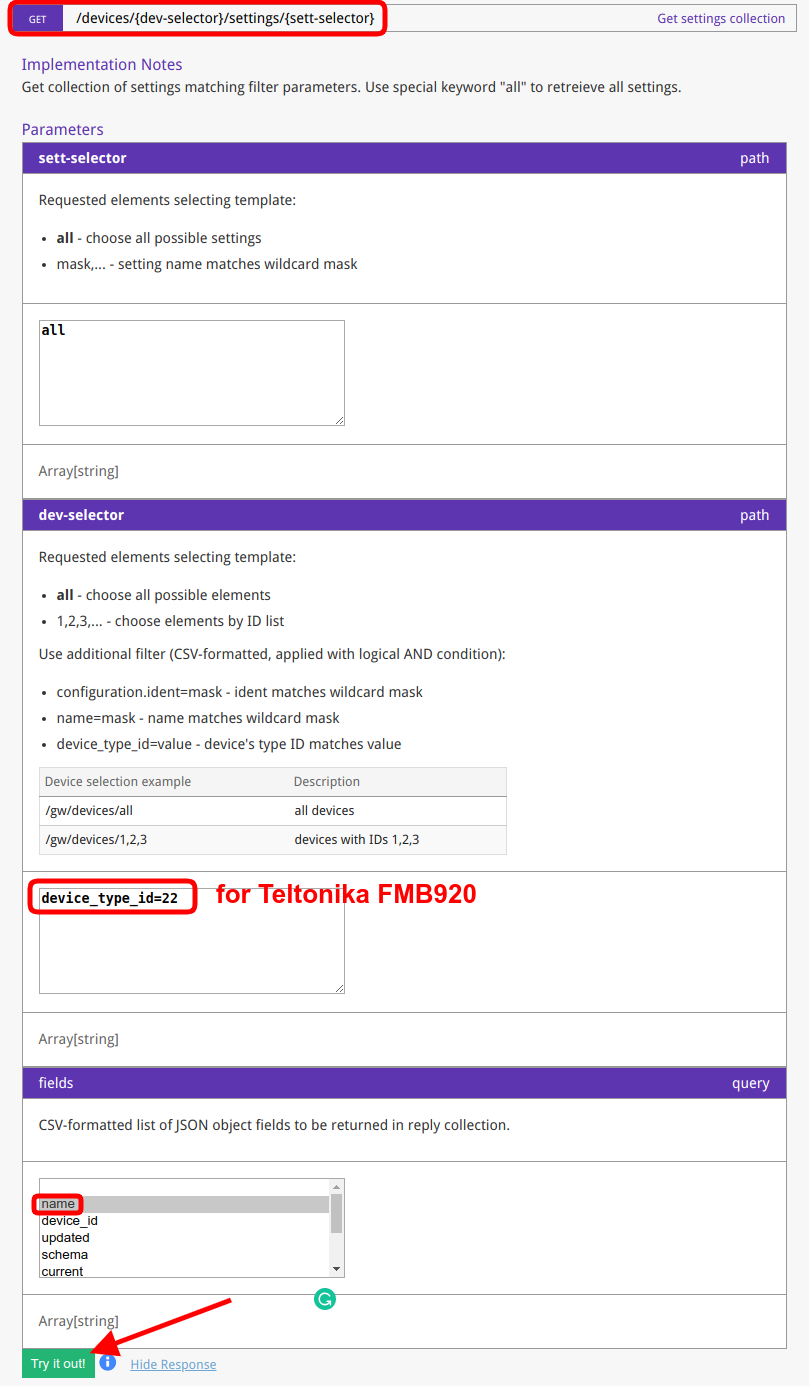
or use the device REST API to do the same programmatically. Use the following request to see the settings available for the given device type:
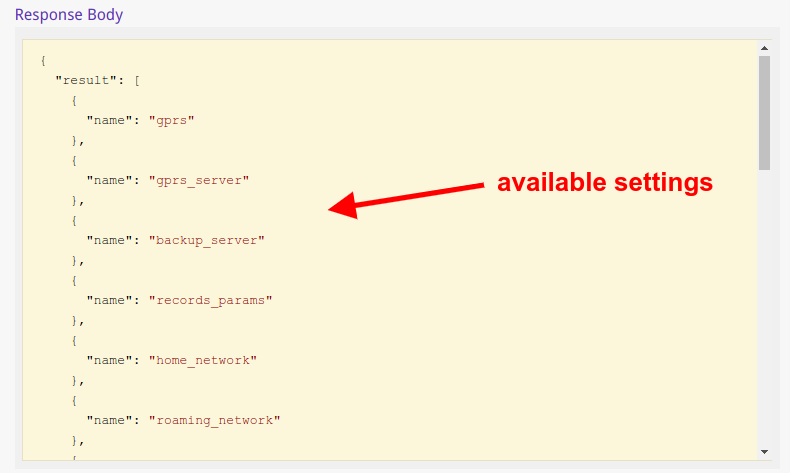
You will get the following list:
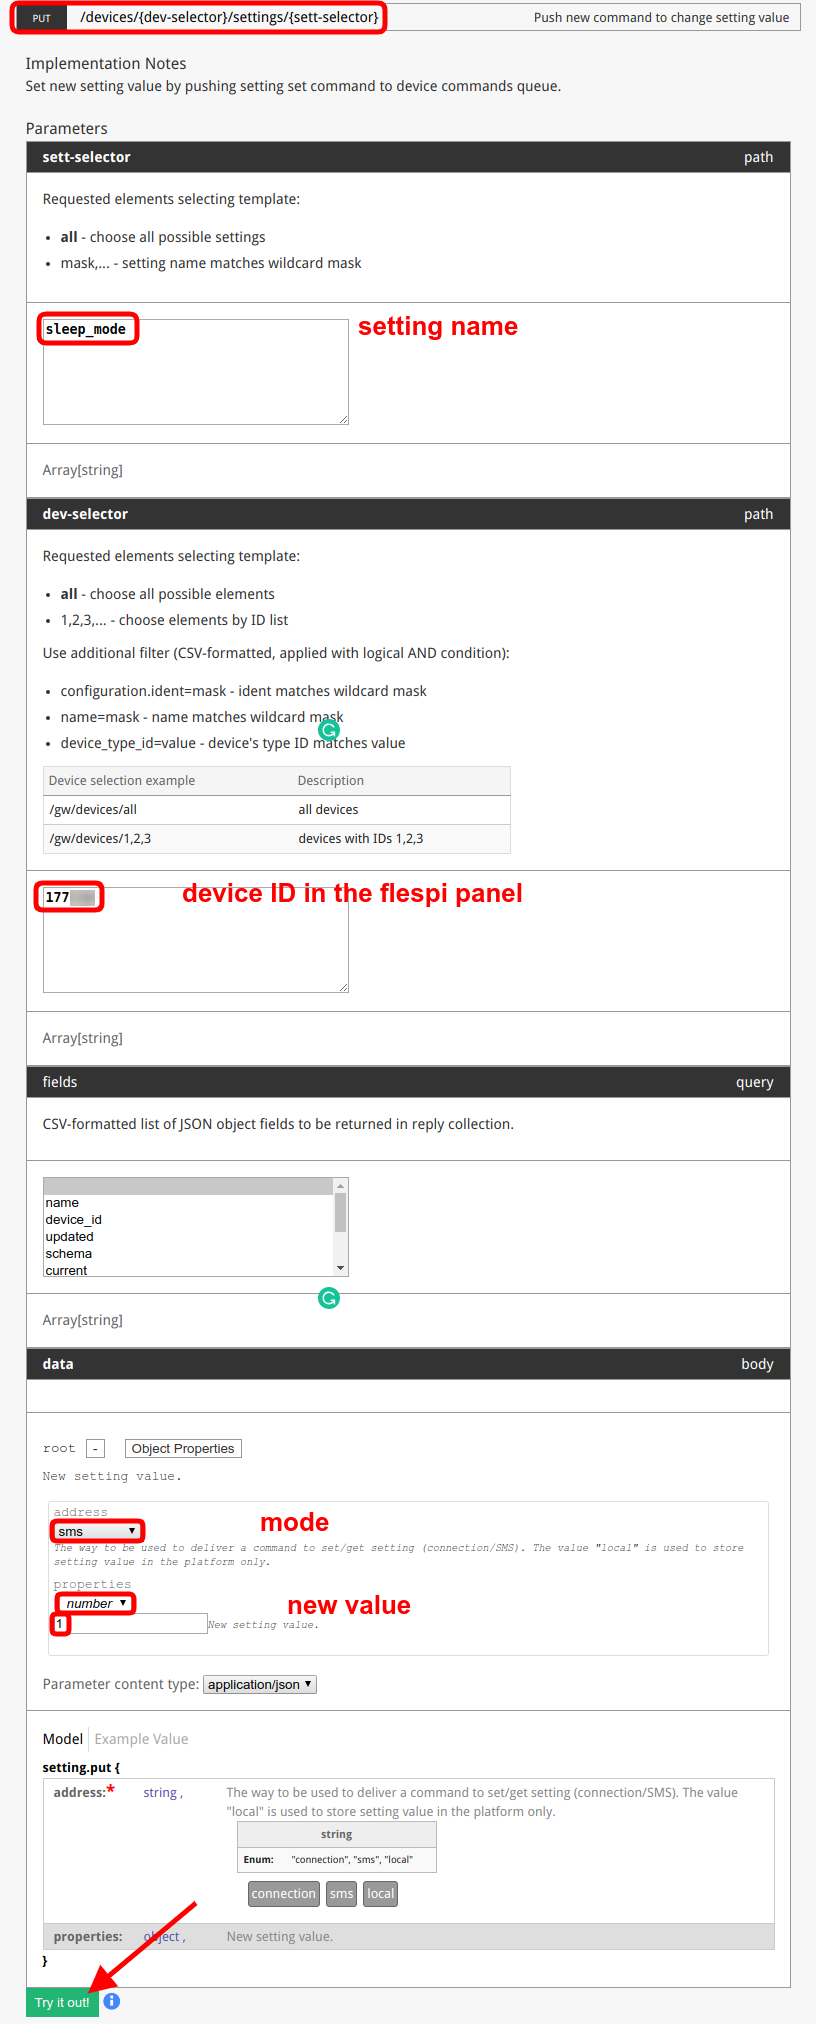
To send a specific setting to the device, use the following PUT request:
That’s it for now. In a little while, the tracker will receive and apply the settings.
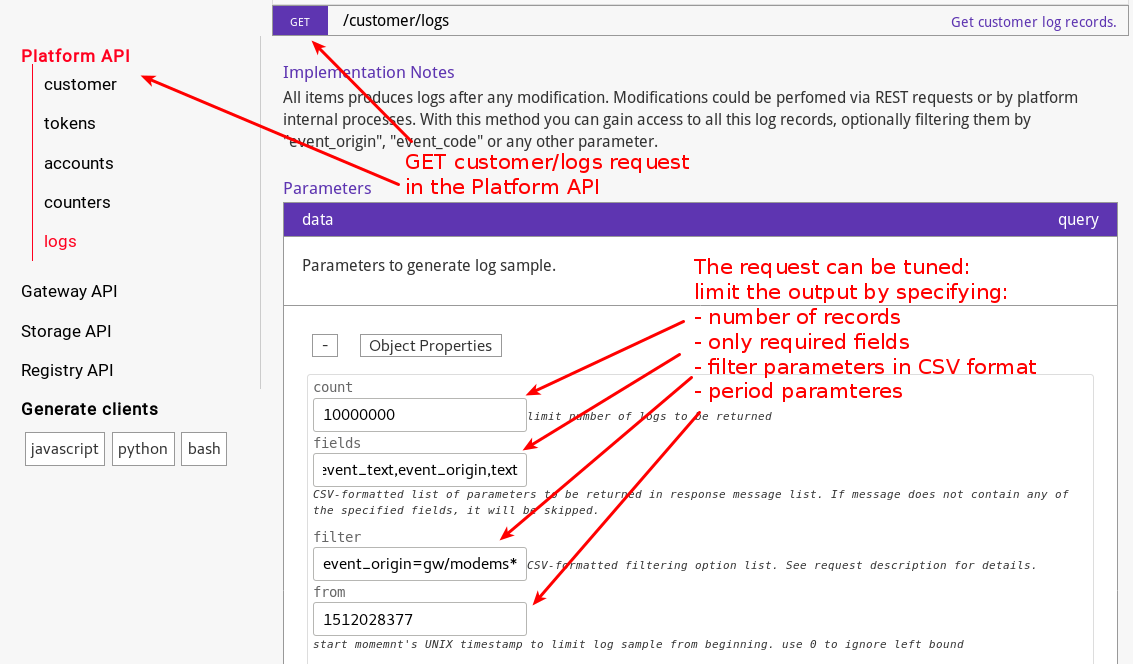
You can find the messages received via SMPP connection in the Platform API. Use GET /customer/logs request to limit or filter the output. E.g. the request like
will respond the following
Alternatively, specify “event_code” with the required value in the “filter” field. E.g. filter “event_code=200” will return all SMS received by the modem. The full list of event codes is available in the documentation.
Please note that not all protocols declaring SMS support in the specs can already work so via flespi. If the protocol you intend to use operates via SMS but says “no SMS option” in Protocols -> Commands, please contact us.
Try texting your devices but don't mistake flespi for the Facebook Messenger ;)
