Dear flespi fans! Having analyzed our customer base we saw two distinct groups of users needing different functions of the flespi ecosystem — telematics connectivity hub and MQTT broker. These two rarely overlap (even though it’s not prohibited), so we decided to let you see what you use and eliminate unwanted elements from the flespi panel.
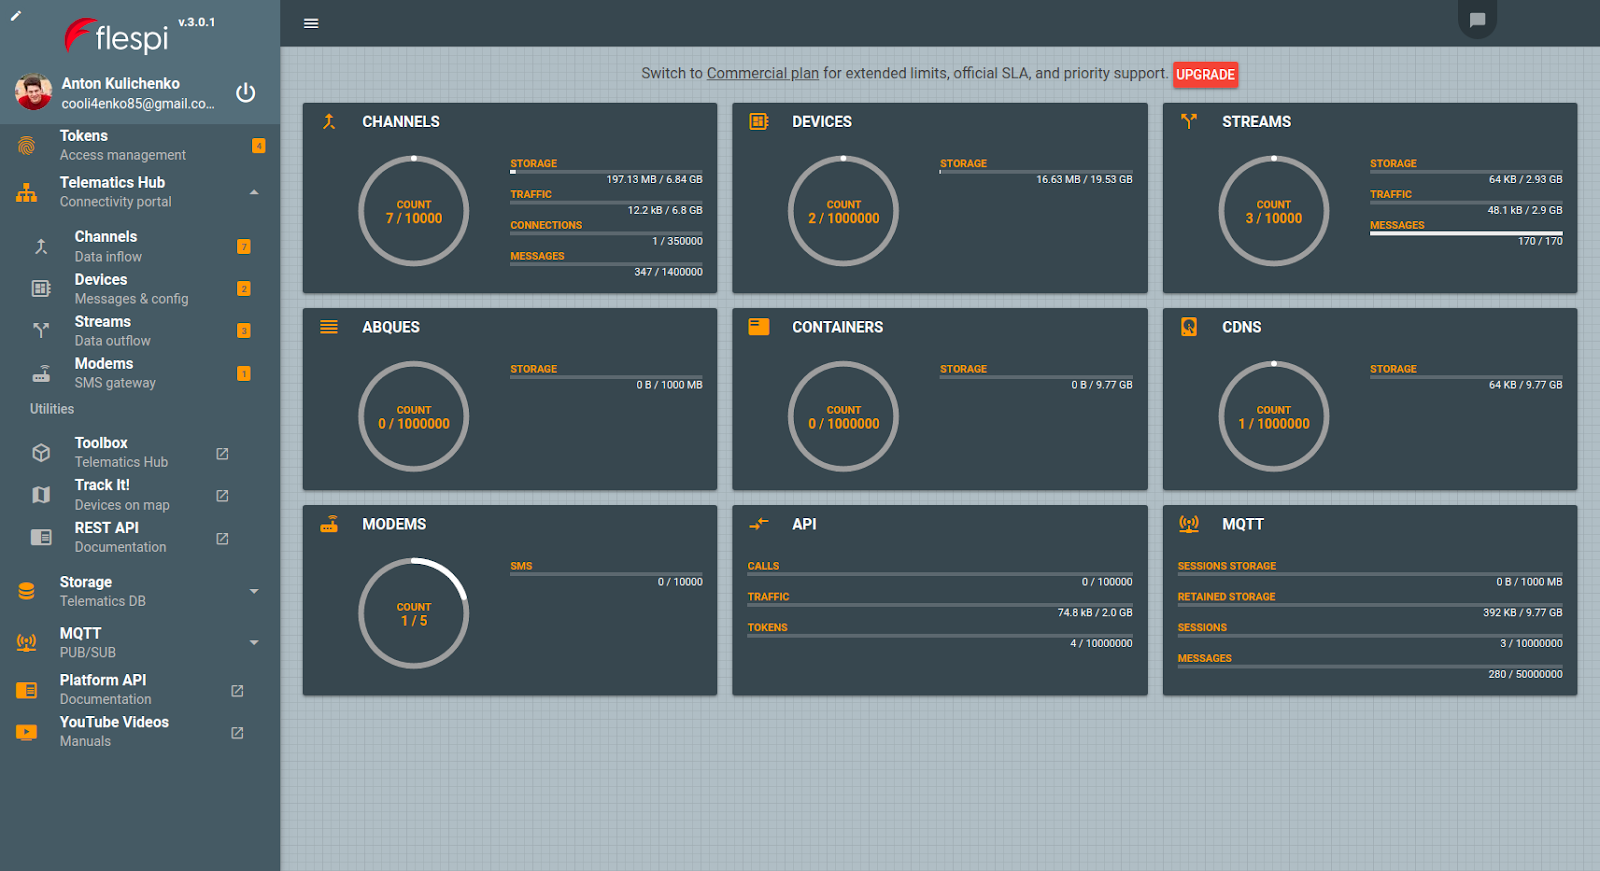
You can now range from this much (everything enabled):
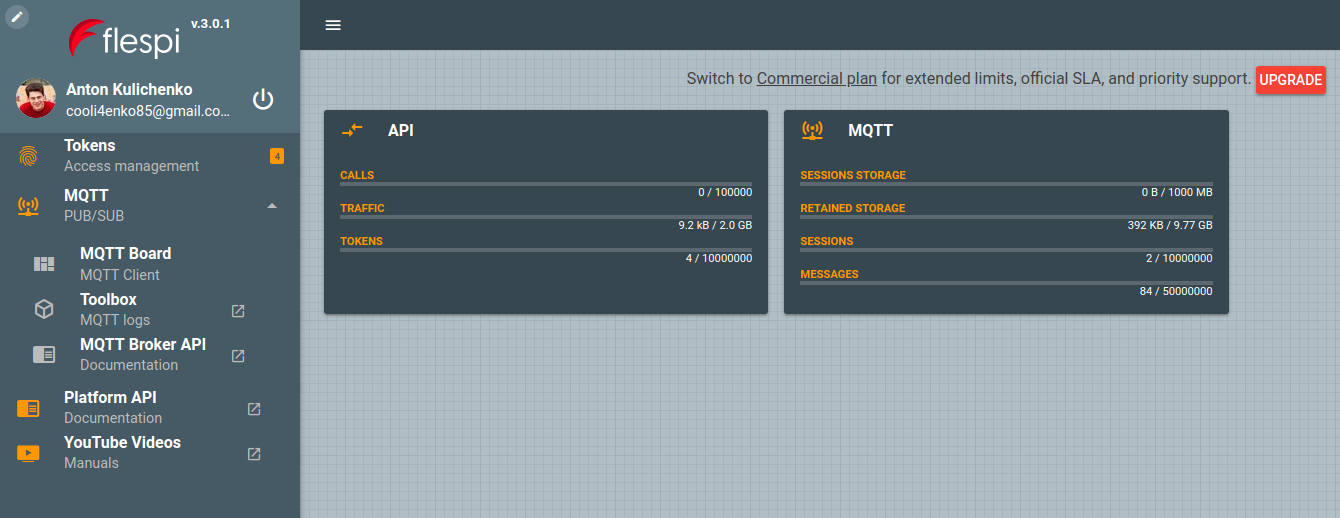
to this little (MQTT mode):
Note: the dashboard adjusts automatically depending on the platform components you pick.
Three panels instead of one
The first time you refresh the flespi panel after the update (of Nov 13, 2018) you will be offered the choice of the preferred mode: Telematics Hub, MQTT Broker or Both:
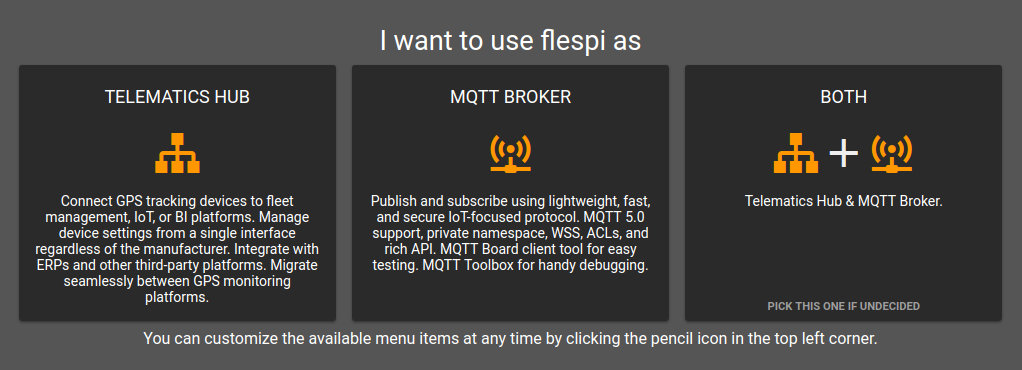
In Telematics Hub mode you will not see the Storage and MQTT Broker menu items.
In MQTT Broker mode you will not see the Telematics hub and Storage.
In Both mode, you will not see Storage but will see both Telematics Hub and MQTT Broker menu items.
You can change the preferences any time! Just click on the Config button at the top left corner of the flespi panel screen and use toggles to show/hide respective menu items. Add the items you need and remove the ones you don’t. Then click the Save button to apply changes.
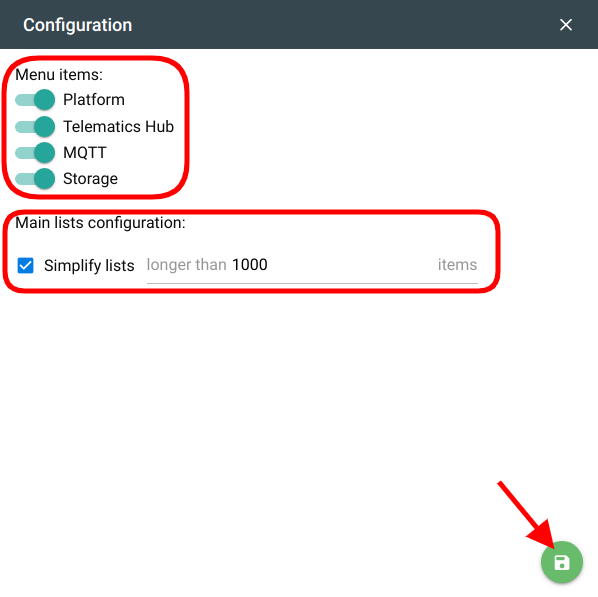
Note: for large accounts with thousands of items in the lists we've introduced a simplified view to prevent the browser tab from slowdown and/or crash. In the Configuration dialogue above you can set how big the list should be to switch to the simplified view.
Logical workflows
We’ve made each mode self-sufficient and logical — the order of items in the submenu reflects the most commonly followed sequence of steps.
The link to the relevant documentation now sits in each block and refers to the proper section of the flespi REST API.
Sublabels make the menu items more descriptive for the newcomer.
Color schemes
You are now free to personalize your flespi panel by picking one of the four color schemes. Click on the avatar/username to make the choice:
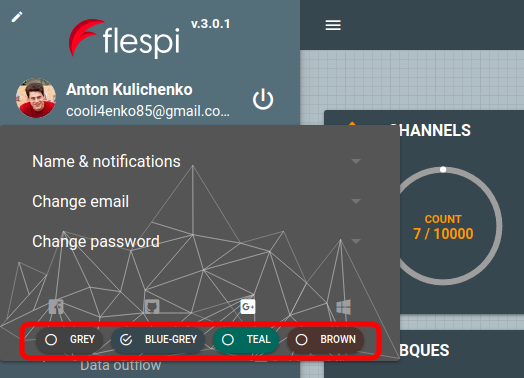
The practical aspect of having several color schemes is that you can make your dev and production panels easily distinguishable.
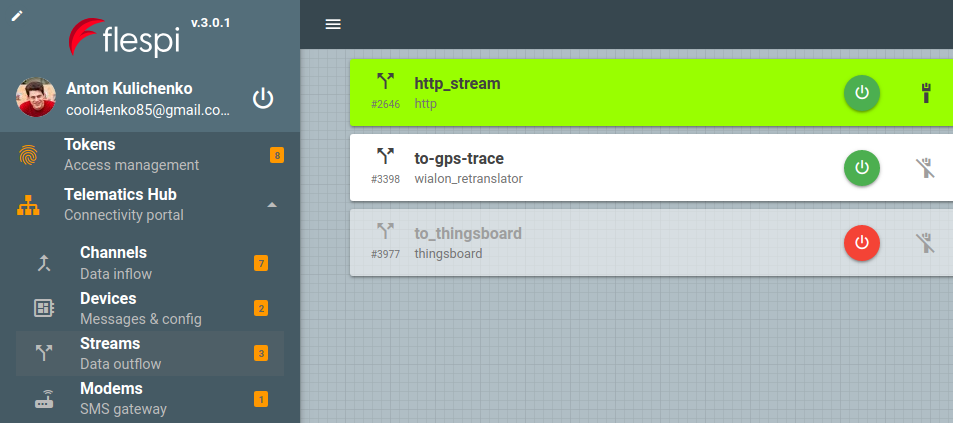
The lists of channels, devices, streams, etc now follow the following color coding:
- transparent — disabled or blocked
- white — enabled but not connected
- green — connected
We've also made different types of flespi tokens in different colors:
- yellow for Master tokens
- light-blue for Standard tokens
- light-green for ACL tokens
- grey for the service tokens that you cannot create or use for any purpose
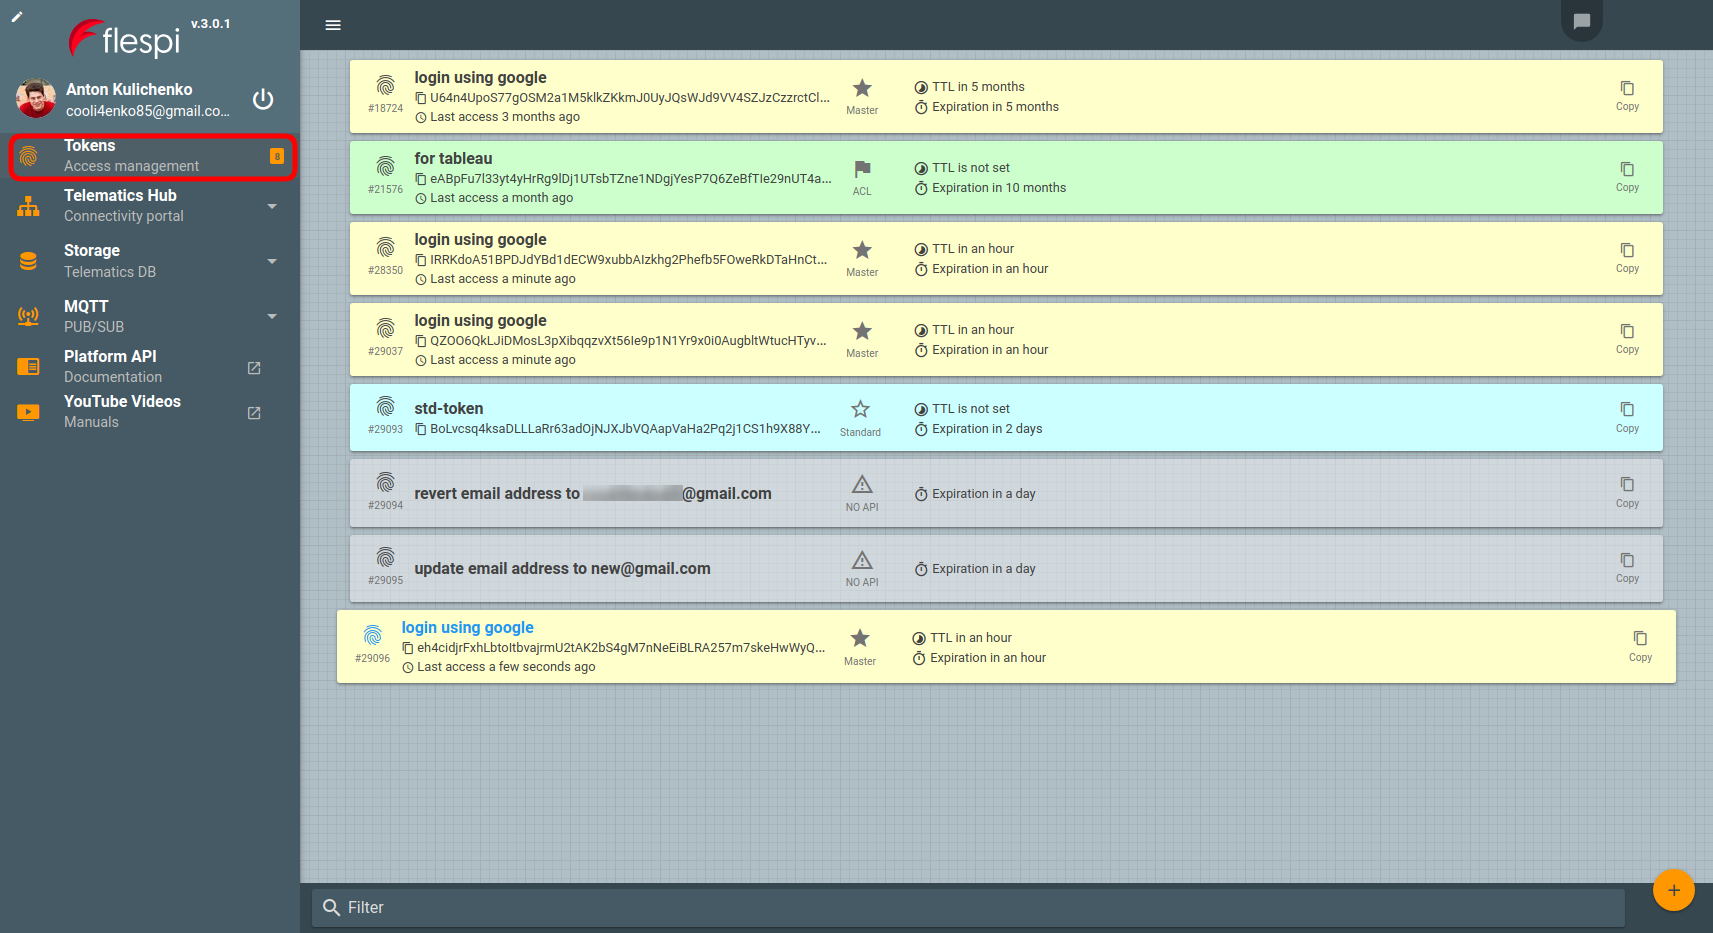
Note: the active token is wider than others so you can easily recognize it in a big list.
Advanced search
The flespi panel features a convenient search mechanism that allows seeking by any field of the flespi elements: id, name, configuration, cid, uri, etc. The syntax is as follows: start with a "~" symbol followed by the field name to search by, then the colon (":"), and the value to search for:
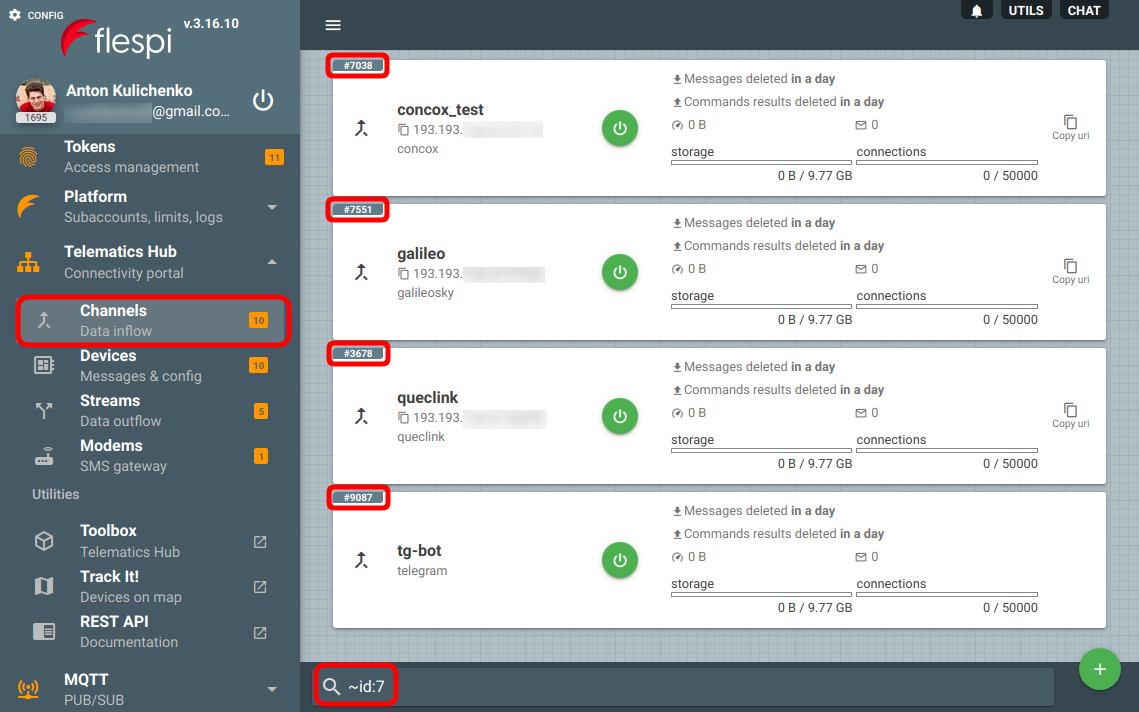
The search can be applied to all flespi elements: channels, devices, streams, modems, tokens, subaccounts, limits.
***
This flespi panel overhaul aims to help you stay focused on your primary tasks, minimize confusion, and make all auxiliary tools easily available.
Enjoy and give us your feedback.