Technologies, like time, never stop. Cell phones appeared in our lives no so long ago. Then they went a path of minimizing to the size of a Zippo lighter, maximizing to the size of a book, and getting smarter than some of their desktop colleagues. Now you hold a fully-functional media center in your hands. You can watch movies, listen to music, chat in social media. You can also record sound, videos and make excellent photos.
The thing is that all these multimedia activities devour the precious megabytes on our microSD cards. It’s annoying to find that your phone is out of memory right when you have perfect timing for the next shot.
This shared pain triggered the creation of a concept of a camera app that works directly with the flespi CDN.
Note: flespi CDN is storage that allows uploading files of any type and gives a direct link to access them. It also allows setting the files TTL (time-to-live) — the period since the last access after which the file gets deleted.
I am a frontend developer, so I tried to implement the given scenario using a set of technologies familiar to me.
HTML5 features an ECMAScript object that enables getting access to the webcam and mic on the user’s device.
navigator.mediaDevices.getUserMedia(constraints)
Let’s use this object in the core of our application.
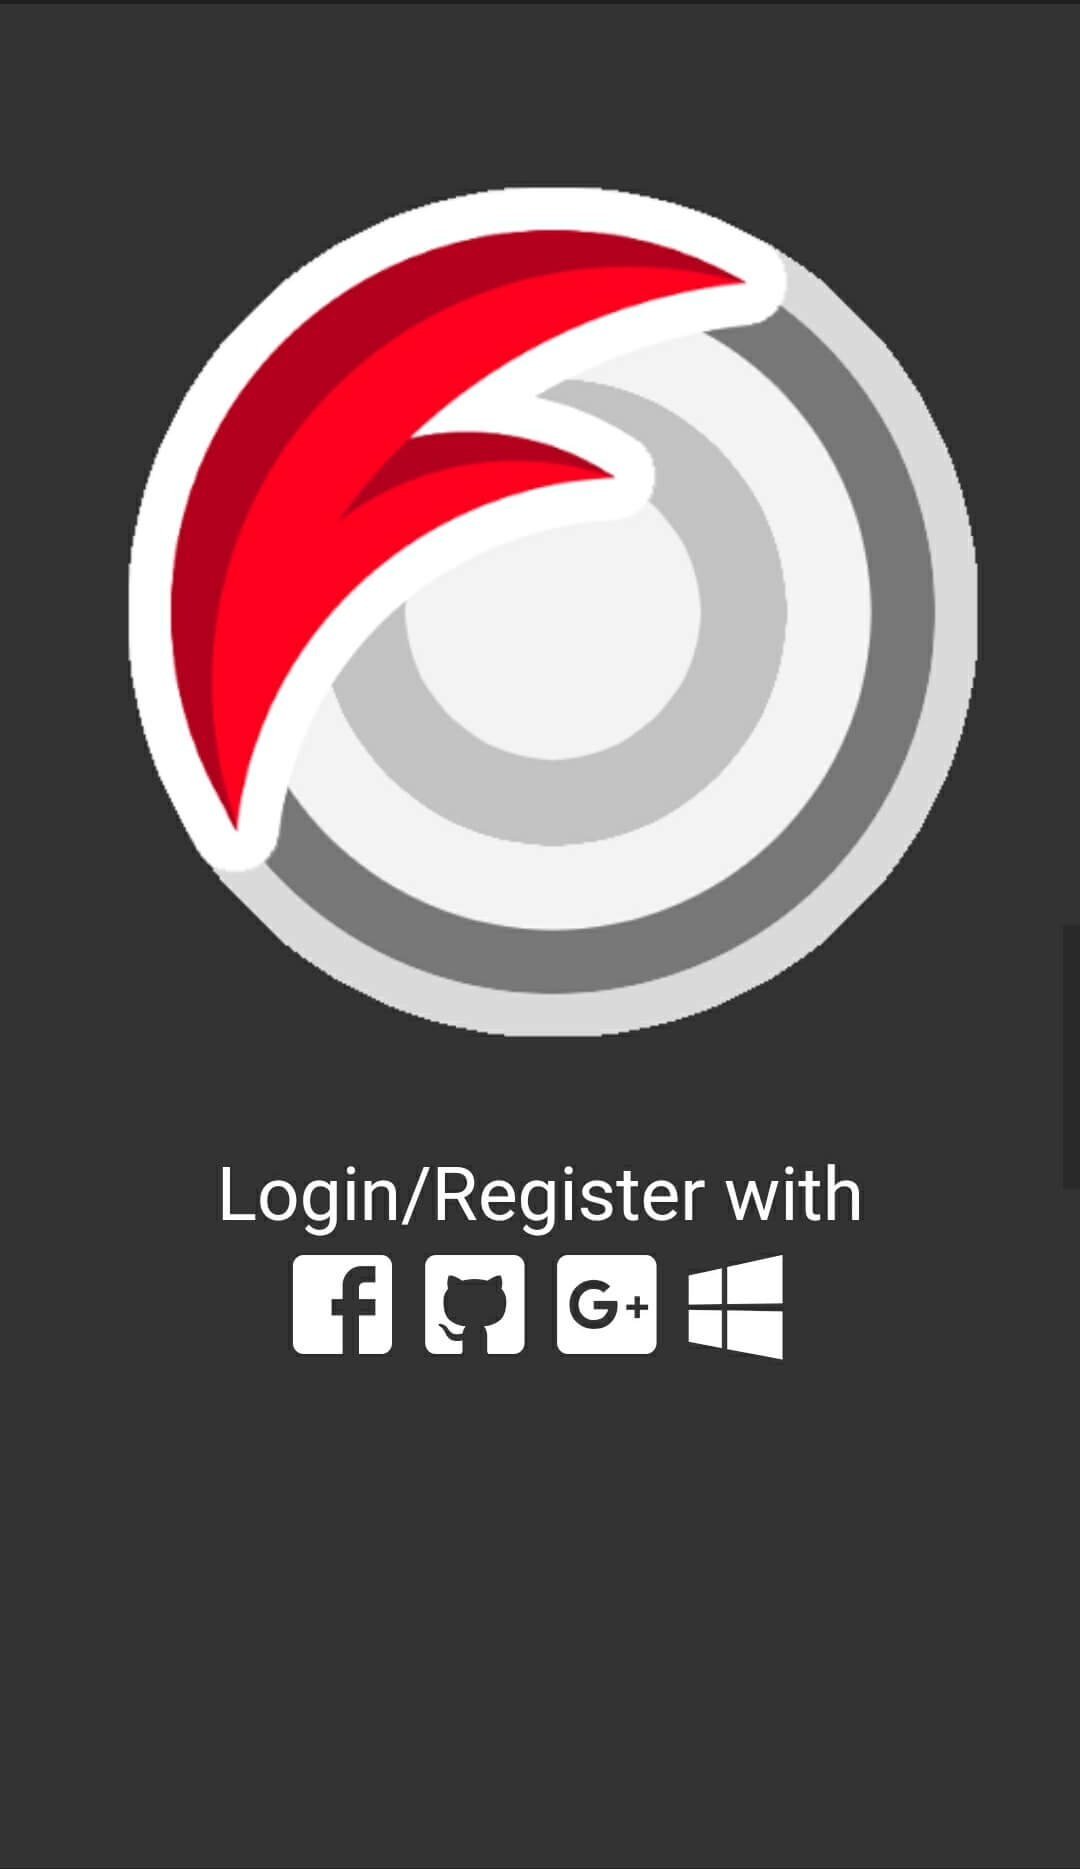
Not so long ago emerged the notion of PWA (progressive web app) which is a traditional website with a specified manifesto stating that the user can save the app icon on the main screen of an Android device for quick access. Opening the site via such icon will show the app in a full-screen mode without usual browser address line and navigation elements. We will use this concept to make the user think they are starting a native Andriod app.
      {
        name: 'flespi Camera',
        short_name: 'flespi Camera',
        /* description: 'Best PWA App in town!', */
        display: 'standalone',
        orientation: 'portrait',
        background_color: '#333333',
        theme_color: '#333333',
        icons: [
          {
            'src': 'statics/icons/icon-128x128.png',
            'sizes': '128x128',
            'type': 'image/png'
          },
          {
            'src': 'statics/icons/ms-icon-144x144.png',
            'sizes': '144x144',
            'type': 'image/png'
          },
          {
            'src': 'statics/icons/apple-icon-152x152.png',
            'sizes': '152x152',
            'type': 'image/png'
          },
          {
            'src': 'statics/icons/icon-192x192.png',
            'sizes': '192x192',
            'type': 'image/png'
          },
          {
            'src': 'statics/icons/icon-384x384.png',
            'sizes': '384x384',
            'type': 'image/png'
          },
          {
            'src': 'statics/icons/icon-512x512.png',
            'sizes': '512x512',
            'type': 'image/png'
          }
        ]
      }
Now let’s start the main job. To see the image that the camera sees, we need to add the video element to the page.
<video autoplay></video>
Then we need to get access to the camera and specify the stream in our video element.
      let hdConstraints = {
        video: {
          facingMode: 'environment',
          width: { ideal: 2000 },
          height: { ideal: 1500 }
        }
      }
      let video = document.querySelector(‘video’)
      if (navigator.mediaDevices && navigator.mediaDevices.getUserMedia) {
        navigator.mediaDevices.getUserMedia(hdConstraints).then(function (stream) {
          try {
            video.srcObject = stream
          } catch (error) {
            video.src = window.URL.createObjectURL(stream)
          }
          video.play()
        })
      } else if (navigator.getUserMedia) { /* Standard */
        navigator.getUserMedia(hdConstraints, function (stream) {
          video.src = stream
          video.play()
        })
      } else if (navigator.mozGetUserMedia) { /* Mozilla-prefixed */
        navigator.mozGetUserMedia(hdConstraints, function (stream) {
          video.src = window.URL.createObjectURL(stream)
          video.play()
        })
      } else if (navigator.webkitGetUserMedia) { /* WebKit-prefixed */
        navigator.webkitGetUserMedia(hdConstraints, function (stream) {
          video.src = window.webkitURL.createObjectURL(stream)
          video.play()
        })
      }
The above block of code includes a few checks for specific methods of the browser API. We need them since different browsers implement functionality with their prefixes before API standardization and then remove the prefixes after API standardization.
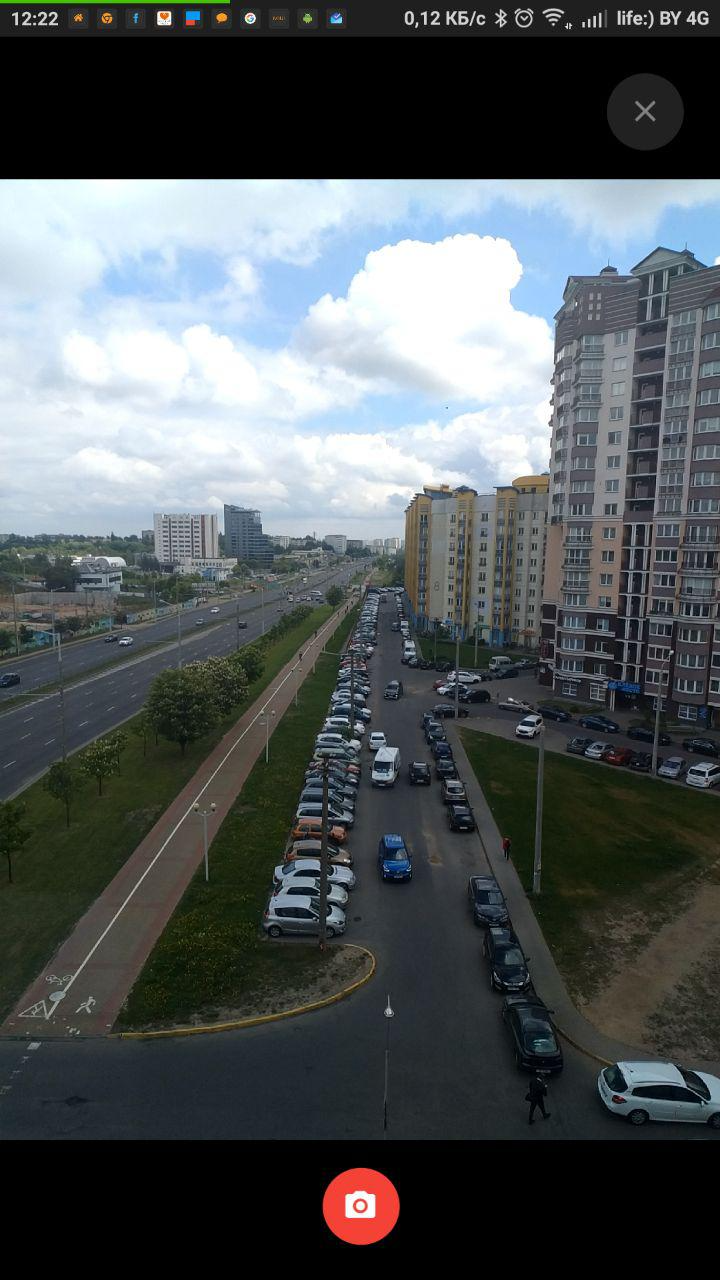
The first step is over. When you open the webpage you will get a prompt asking for access to the camera. Once you agree, the picture from the camera will appear.
It’s great, but we need the camera not for watching the moving picture but for taking photos. So we need another element on the page — canvas.
<canvas></canvas>
This element will help us capture and save the frame from the video element. This is the code that executes that:
let canvas = document.querySelector(‘canvas’)
canvas.getContext('2d').drawImage(video, 0, 0, 2000, 1500)
Done. To finalize the process we need to convert the canvas into blob data and send the frame to the flespi server via a POST request. In this example to upload the file we use the flespi-io-js library that has the flespi.io server already specified in the settings by default. Also in parameters, we set the file time-to-live to 86400 seconds.
canvas.toBlob((blob) => {
let formdata = new FormData()
formdata.append('file', blob, 'photo.jpg')
Vue.connector.http.post('/storage/cdns/any/files', formdata, "{'expire': 86400}")
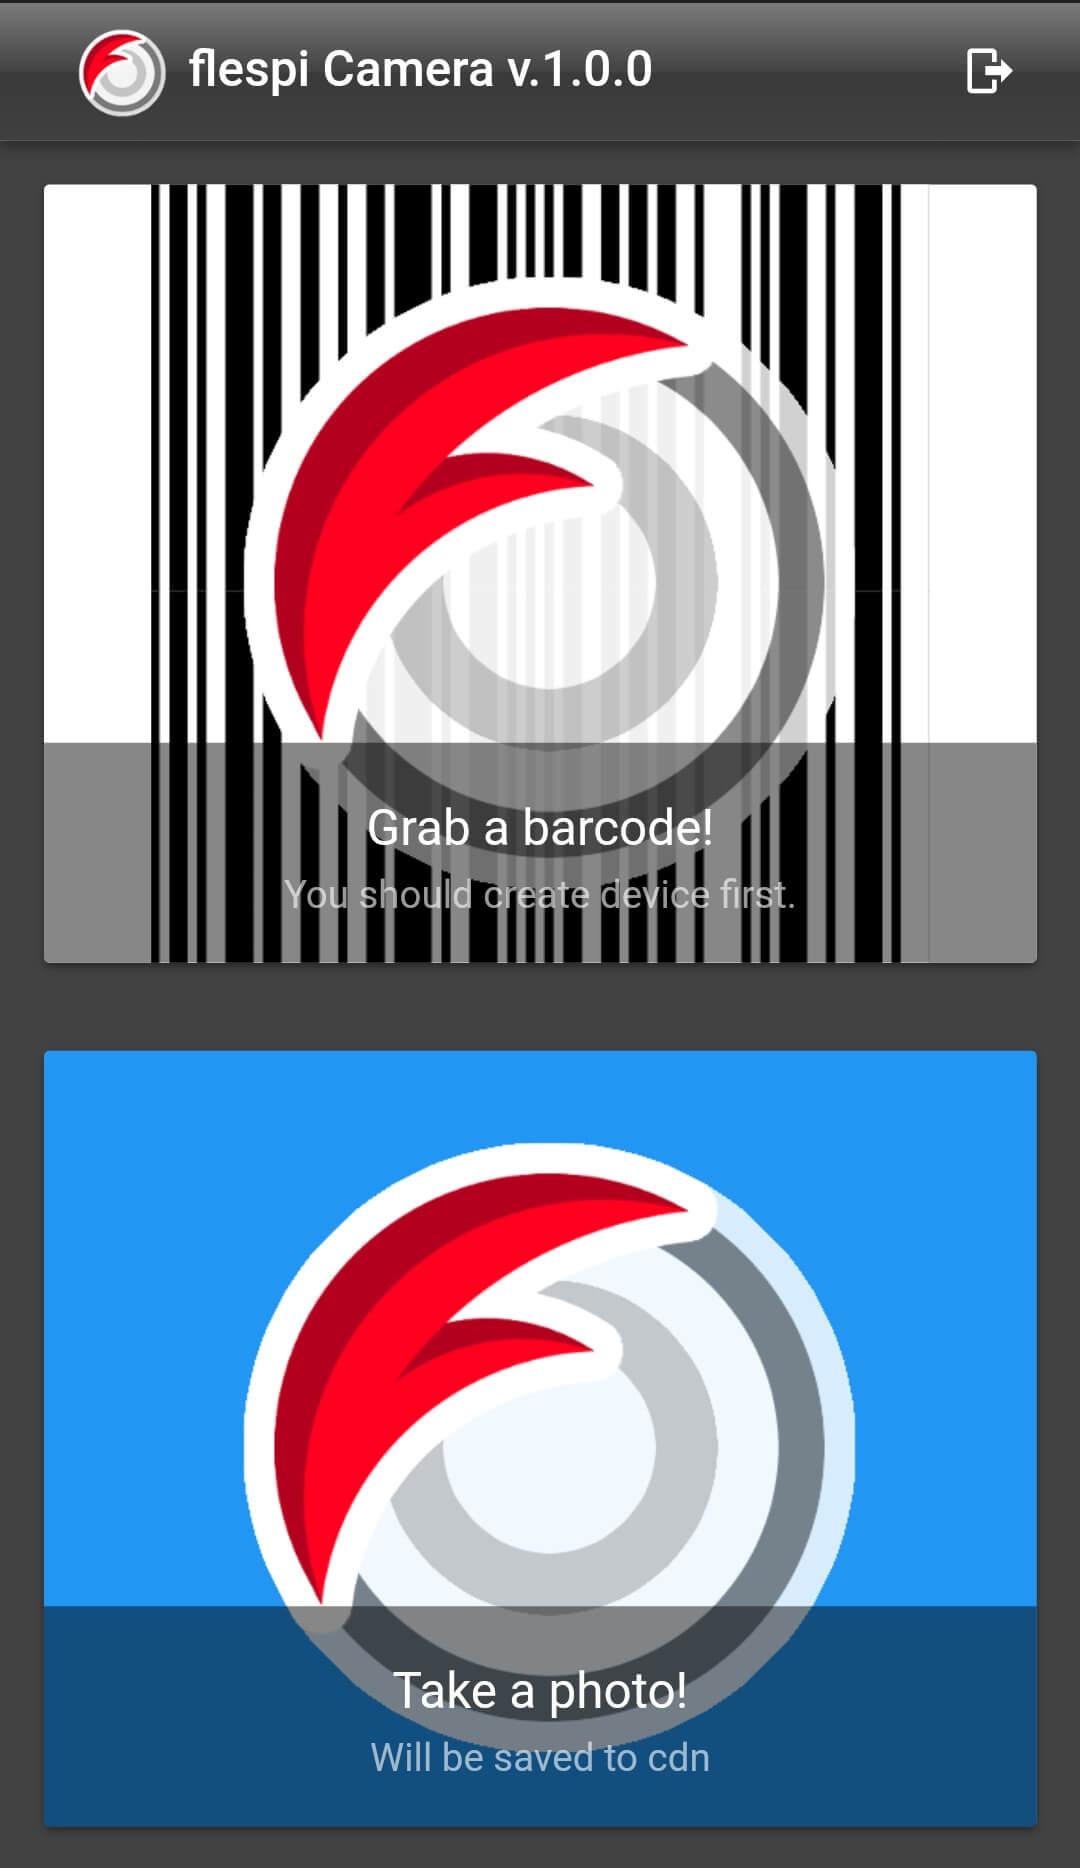
}, 'image/jpeg')The app is ready to use. It only lacks some styles and needs to be uploaded to a hosting to become a usable product ;)
Bonus
We learned to save images to the flespi CDN but how about doing something more useful? Say, a barcode scanner.
This time we won’t implement the functionality from scratch but will use a ready-made library for barcode recognition. One of the most advanced JS libraries for that purpose is Quagga.
Let’s add the following element to the page to make the library work:
<div id=”barcodeReader”></div>
Then let’s add the Quagga library to the project and initialize it.
     let barcodeReader = document.querySelector('#barcodeReader')
      Quagga.init(
        {
          numOfWorkers: 2,
          inputStream: {
            name: 'Live',
            type: 'LiveStream',
            target: barcodeReader,
            constraints: {
              width: { ideal: 2000 },
              height: { ideal: 1500 },
              facingMode: 'environment'
            }
          },
          frequency: 1,
          decoder: {
            readers: [
              'code_128_reader',
              'ean_reader',
              'ean_8_reader' /* , */
              /* 'code_39_reader', */
              /* 'code_39_vin_reader', */
              /* 'codabar_reader', */
              /* 'upc_reader', */
              /* 'upc_e_reader', */
              /* 'i2of5_reader', */
              /* '2of5_reader', */
              /* 'code_93_reader' */
            ]
          }
        },
        function (err) {
          if (err) {
            return
          }
          Quagga.start()
        }
      )
Attention: numOfWorkers is a critical initialization parameter. Quagga uses web-workers to distribute processor power for barcode recognition. Specify the value less or equal to the number of cores on your processor.
Now that we’ve initialized the library, we need to do something with the recognized barcodes. It might be convenient to save them as messages into the flespi device. Let’s do that.
    let current = ''
    let timeout = null
    Let item_id = 1234 /* device id */
    Quagga.onDetected((data) => {
      if (current !== data.codeResult.code) {
        current = data.codeResult.code
        /* send barcode data as device message */
        Vue.connector.gw.postDevicesMessages(item_id, {'barcode': data.codeResult.code})
        clearTimeout(timeout)
        timeout = setTimeout(function () {
          current = ''
        }, 500)
      }
    })
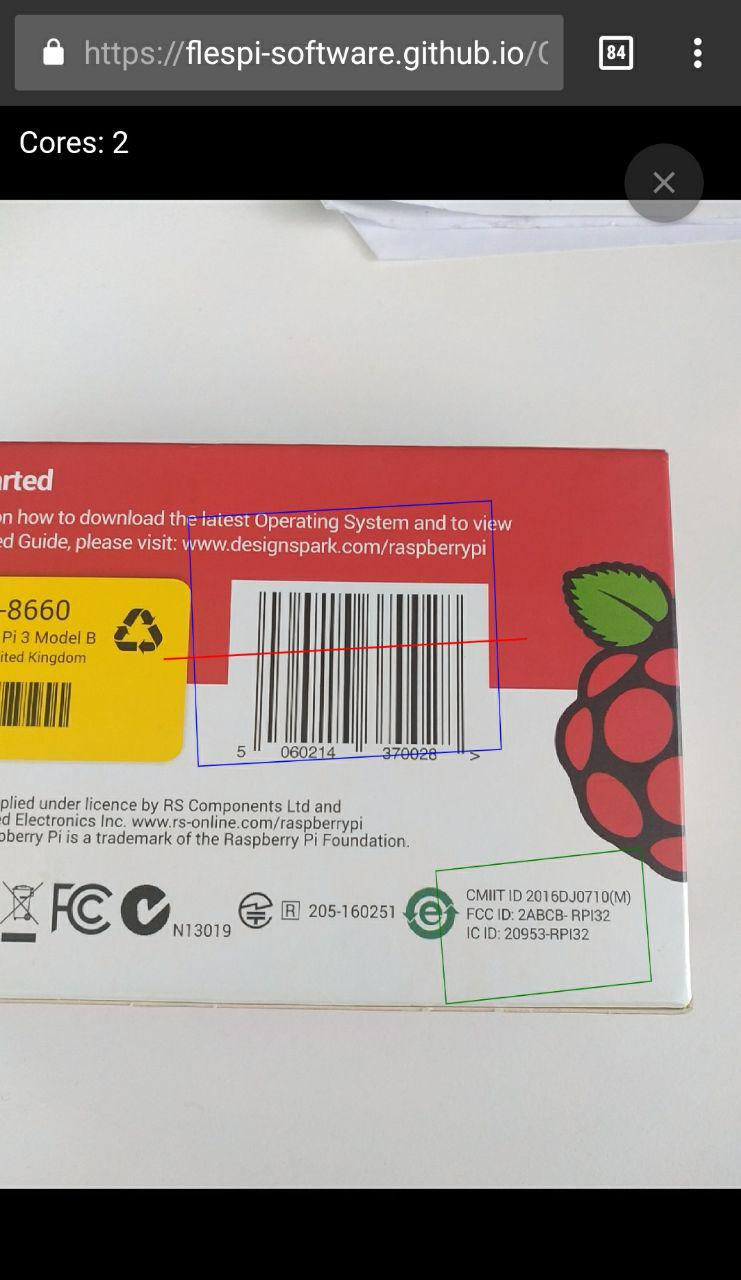
We can go a little further and add the recognized area over the image.
    Quagga.onProcessed(function (result) {
      var drawingCtx = Quagga.canvas.ctx.overlay, drawingCanvas = Quagga.canvas.dom.overlay

      if (result) {
        if (result.boxes) {
          drawingCtx.clearRect(0, 0, parseInt(drawingCanvas.getAttribute('width')), parseInt(drawingCanvas.getAttribute('height')))
          result.boxes.filter(function (box) {
            return box !== result.box
          }).forEach(function (box) {
            Quagga.ImageDebug.drawPath(box, {x: 0, y: 1}, drawingCtx, {color: 'green', lineWidth: 2})
          })
        }

        if (result.box) {
          Quagga.ImageDebug.drawPath(result.box, {x: 0, y: 1}, drawingCtx, {color: '#00F', lineWidth: 2})
        }

        if (result.codeResult && result.codeResult.code) {
          Quagga.ImageDebug.drawPath(result.line, {x: 'x', y: 'y'}, drawingCtx, {color: 'red', lineWidth: 3})
        }
      }
    })
It will look like this:
There’s a lot more you can add, tweak or do differently. We just gave a brief illustration of how flespi camera paired with the flespi CDN storage can make practical sense. And not take much of developer’s time and efforts.
You are also welcome to check the flespi camera project on Github and adapt it to your needs.
