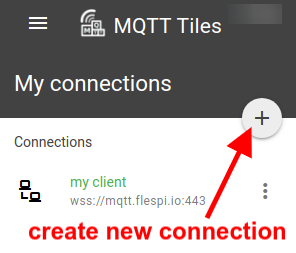
Since dashboards in MQTT Tiles rely on subscriptions to MQTT topics to get data for visualization, we need to establish a connection to an MQTT broker first.
Click on the “+” icon in My connections pane on the left.
By default, you are prompted to connect to the flespi MQTT broker via MQTT 5.0.
If you want to work with another MQTT broker supporting WSS protocol, change the Host field appropriately.
If the chosen broker does not support the latest MQTT 5.0 specification, select an older Version of MQTT.
If using the flespi MQTT broker, use a valid flespi token as a username and leave the password field blank.
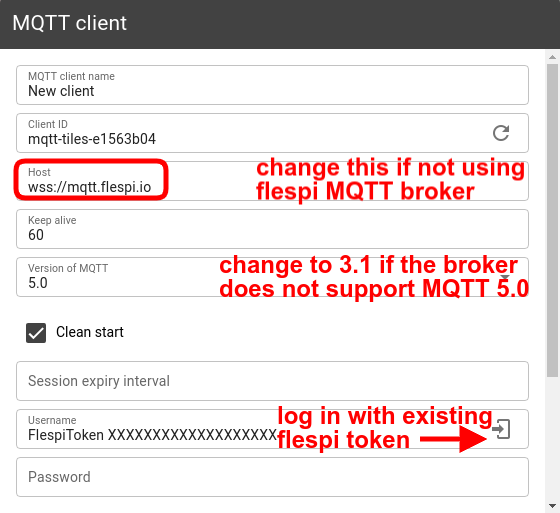
Note: there is a handy Login icon to the right of the Username textbox that will offer you to pick one of the existing flespi tokens (if any).
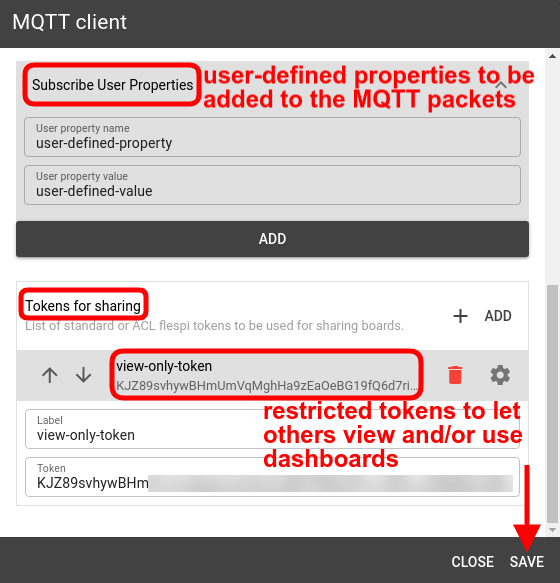
Optionally, you can complement the MQTT packets with user properties carrying some data important in your project implementation.
Since boards are usually created to be seen by more than one person, you can list the tokens for sharing that will grant restricted access to the boards.
Note: sharing boards is only possible with a Standard or ACL token — it’s not allowed for Master tokens. The ACL for the mqtt topic xflespifront/mqtttiles/boards/+ should be explicitly created with publish/subscribe allowed.
Click Save to create the connection.
To enable the newly created connection click on it — it should turn green.
Now that you have an active connection to the broker, you can start putting together your first board.