We expect that you already was able to connect Teltonika tracker to the flespi telematics hub. Please follow this step by step guide to achieve this. After connecting device on a channel level you also need to register correct Teltonika device in order to access its configurable settings.
After the reviews of flespi configuration capabilities for the two major Chinese GPS tracker manufacturers — Queclink and Concox — we are now going to look at their European counterparts — Teltonika being the first. Teltonika is a Lithuanian company with a powerful R&D department manufacturing the highest quality advanced GPS tracking devices and accompanying software having also gotten its foot in the IoT door.
Configuring the Teltonika trackers with the flespi universal device configurator is fast, convenient, and error-prone. Let’s look at the details.
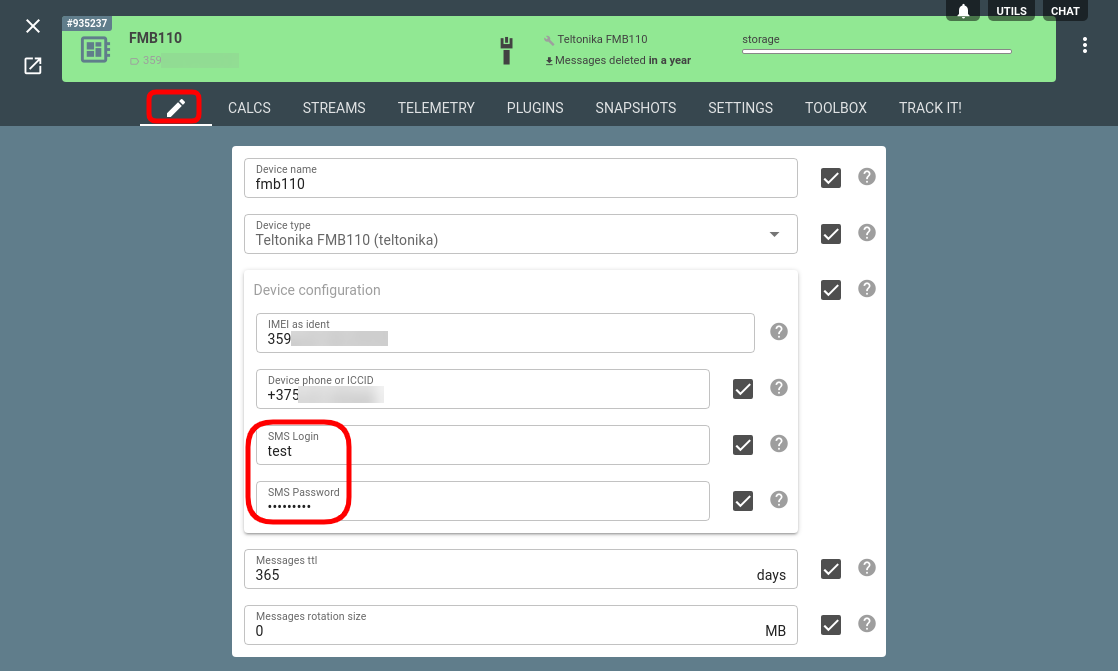
The first point is on the security side: you can set the login and password for SMS authentication to secure your device from unauthorized access in the Device configuration section on the Edit tab:
Now let’s look into the Settings tab where a great number of configurational options are conveniently structured by purpose.
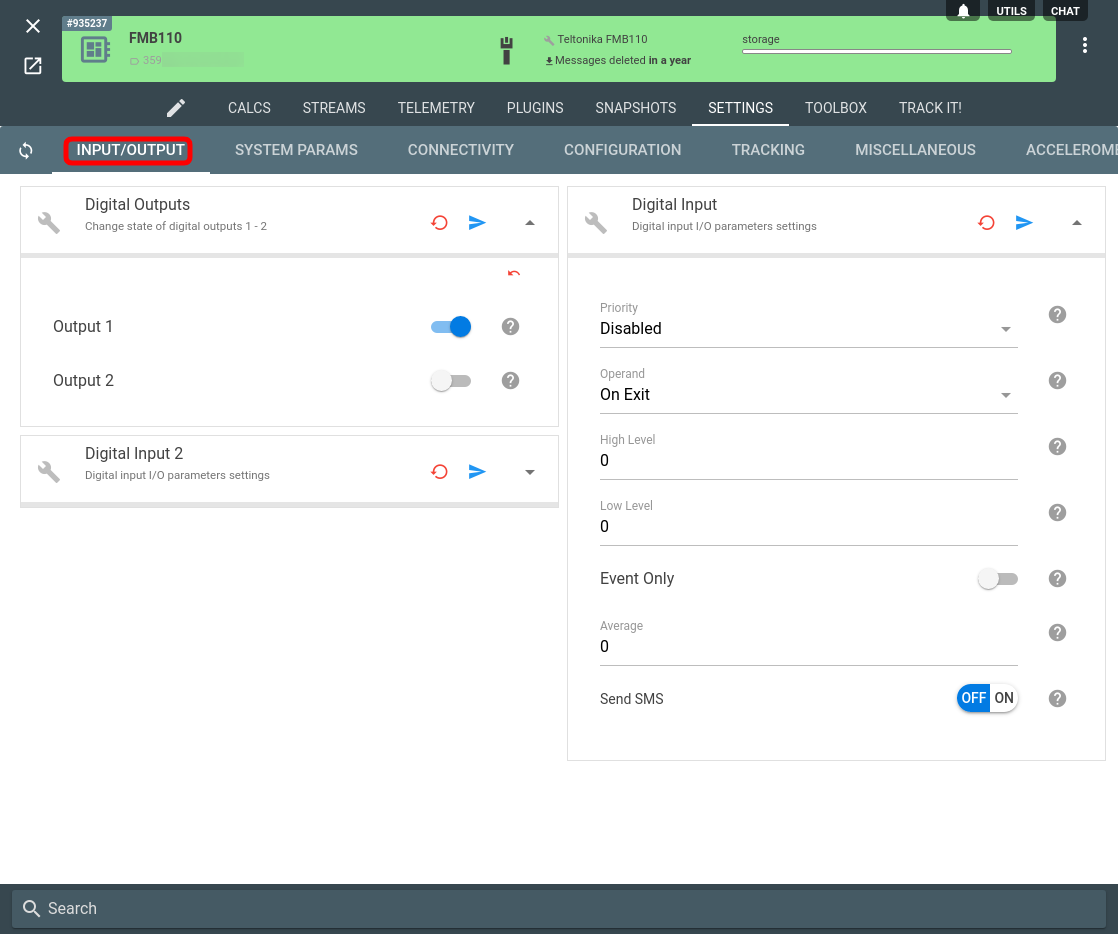
Input/output
On the Input/output tab you can conveniently manage and configure the inputs and outputs available in your Teltonika tracker:
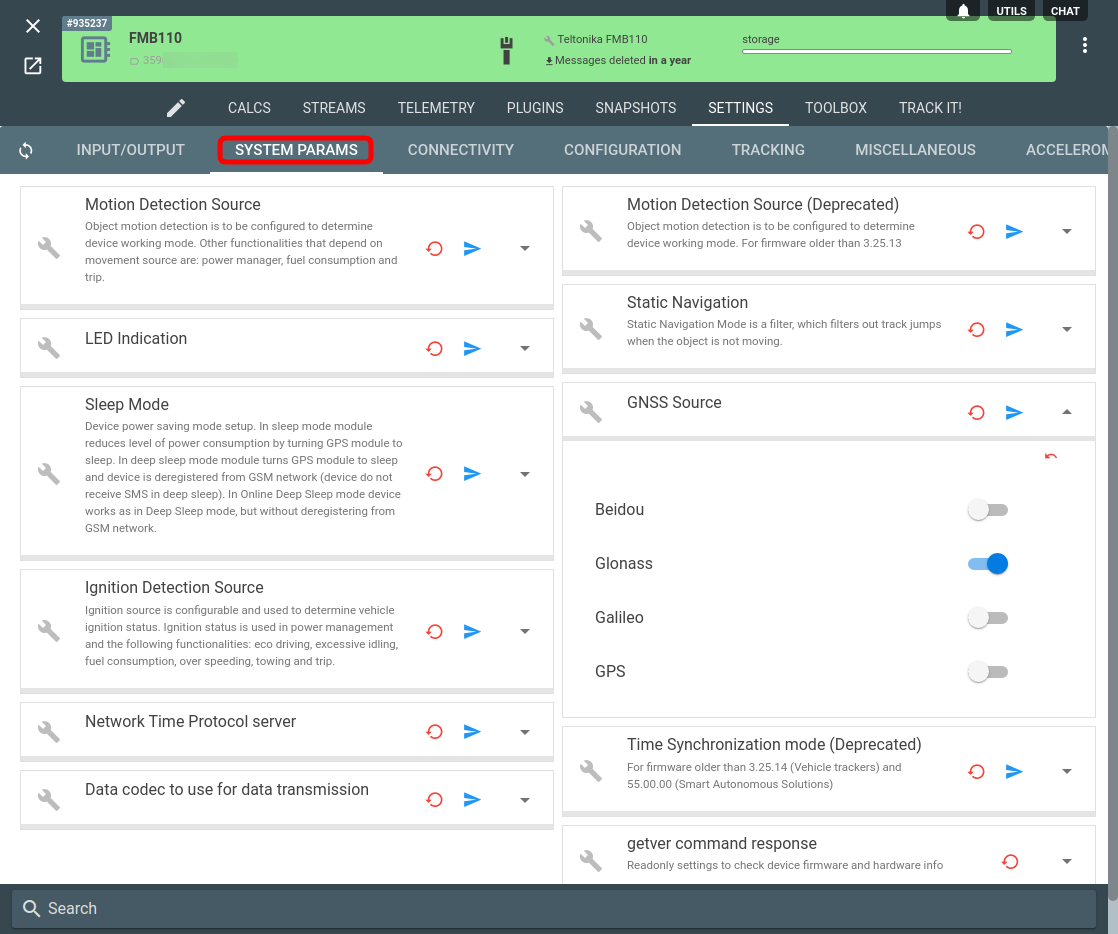
System params
On the System parameters tab, you can configure the global system parameters of your Teltonika device that will affect the way it operates:
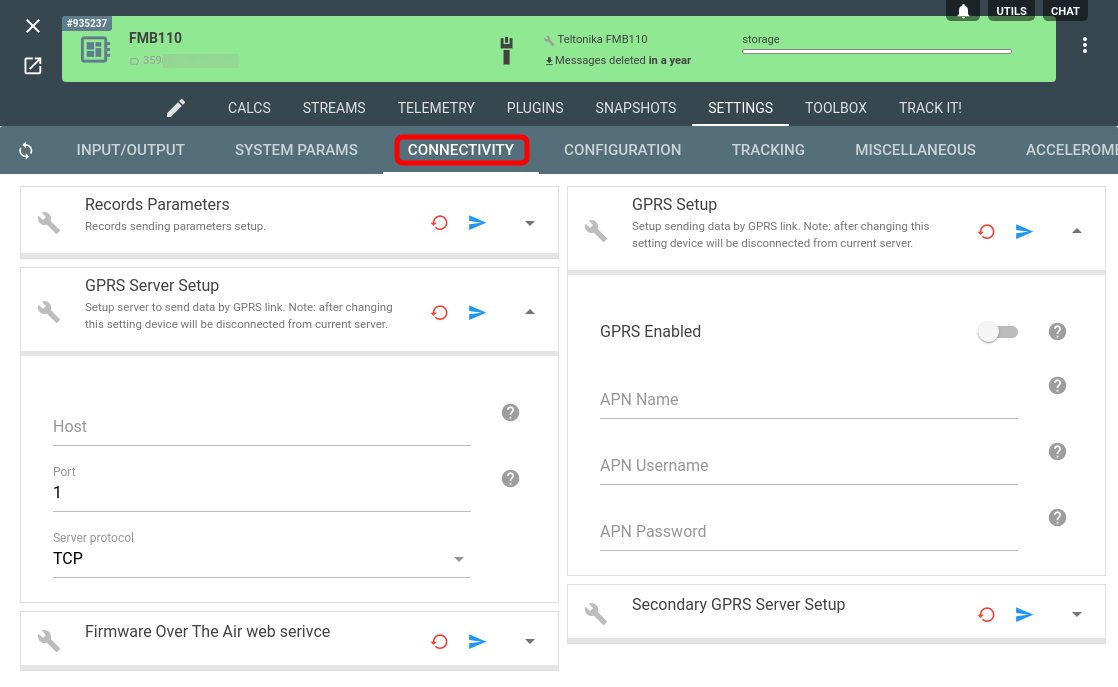
Connectivity
The Connectivity tab is very important since it allows to specify where the tracker will snd the data:
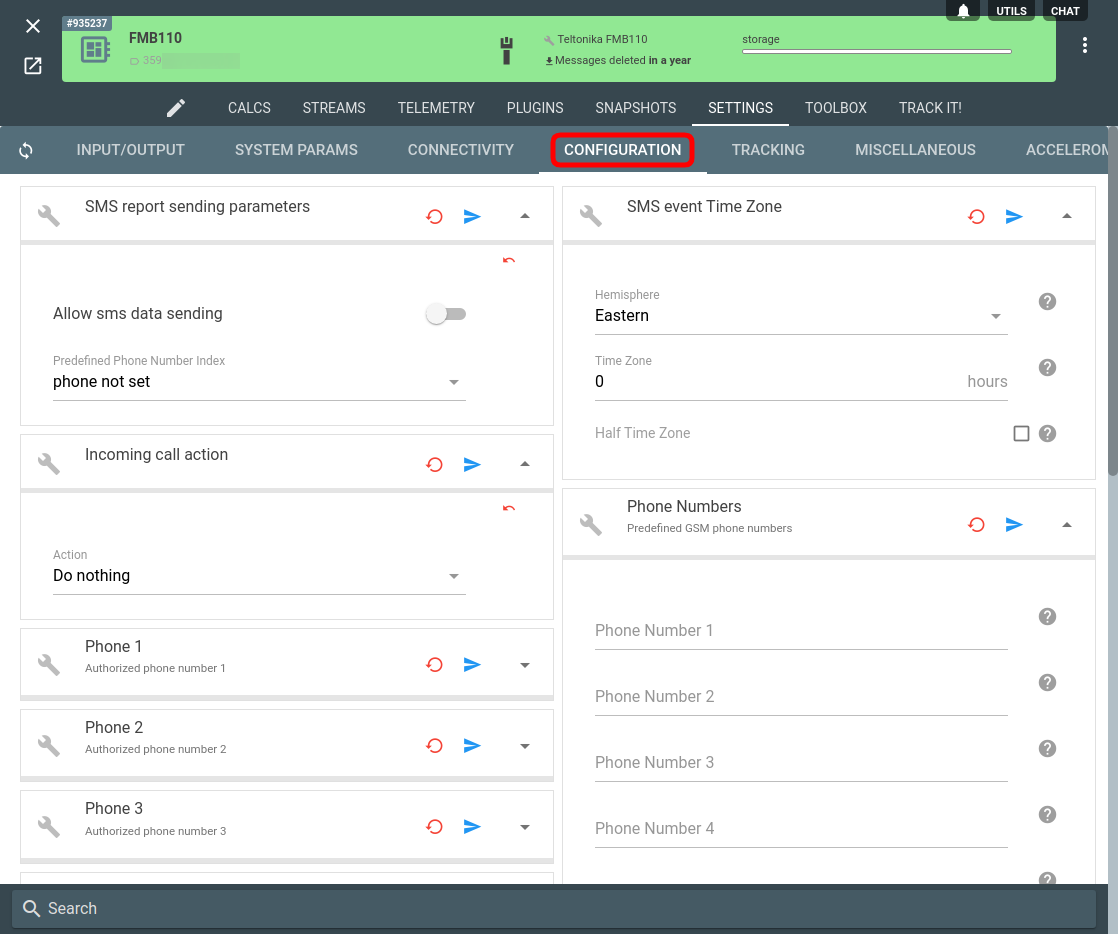
Configuration
The Configuration tab contains a collection of settings to specify valid phone numbers, SMS reporting parameters, incoming call actions, and more:
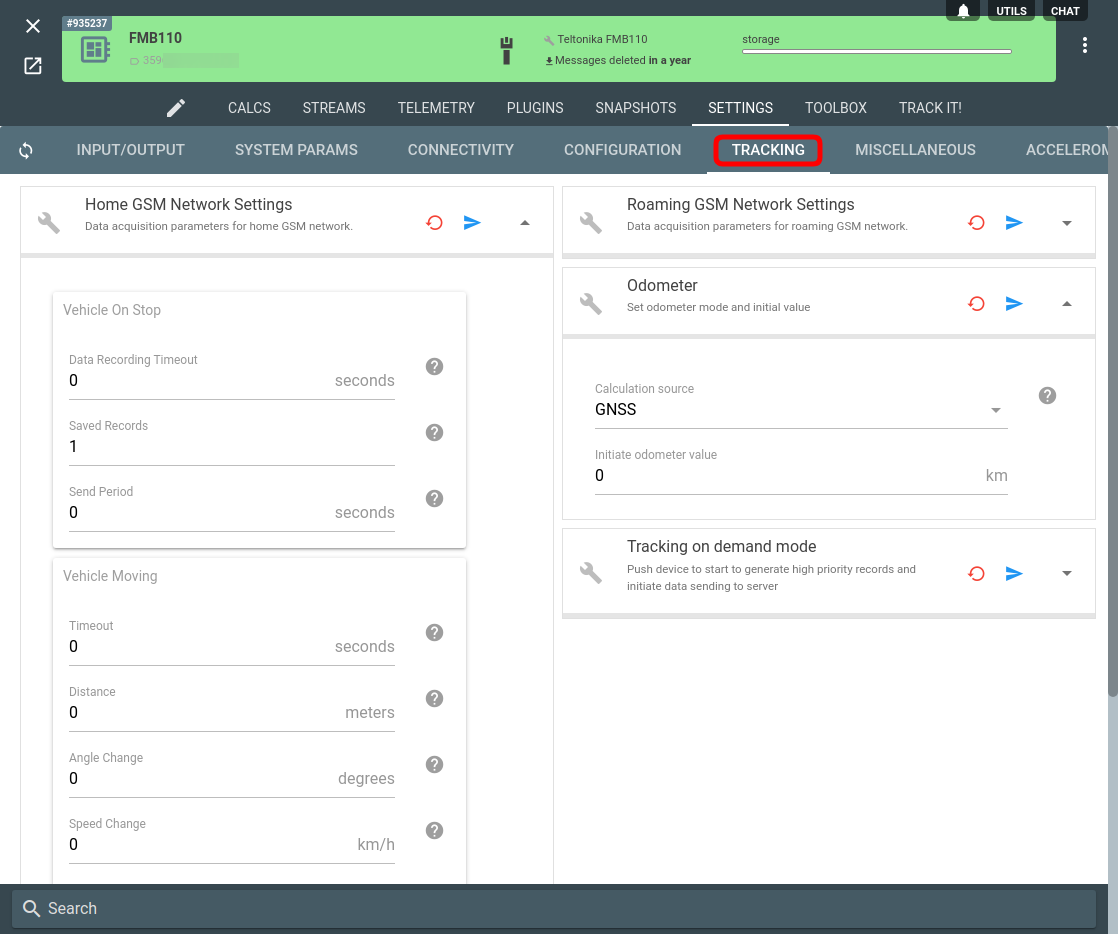
Tracking
The Tracking tab is probably the once that is used the most to ensure your device reports accurately enough yet consuming not too much traffic. And Teltonika devices have a number of settings to fine-tune it:
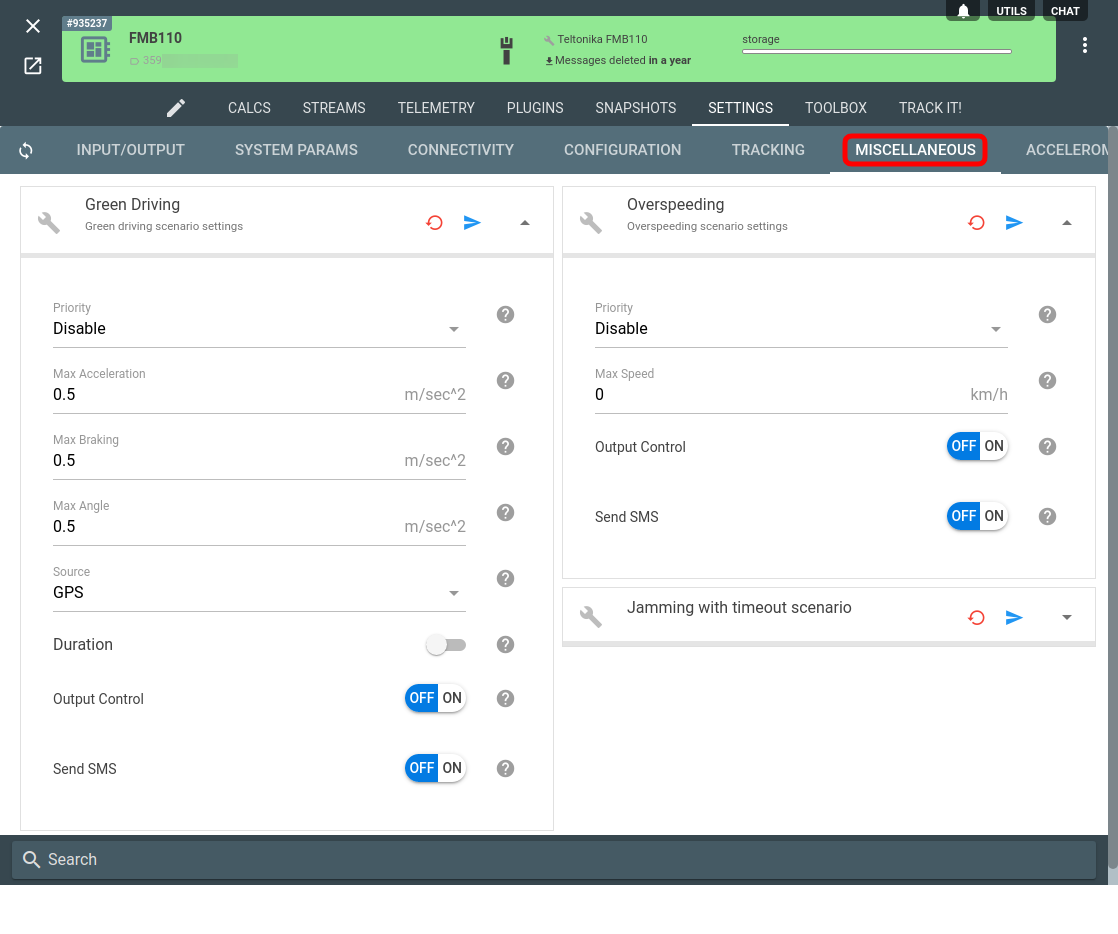
Miscellaneous
The Miscellaneous tab allows configuring the green driving parameters, overspeeding scenarios, and more:
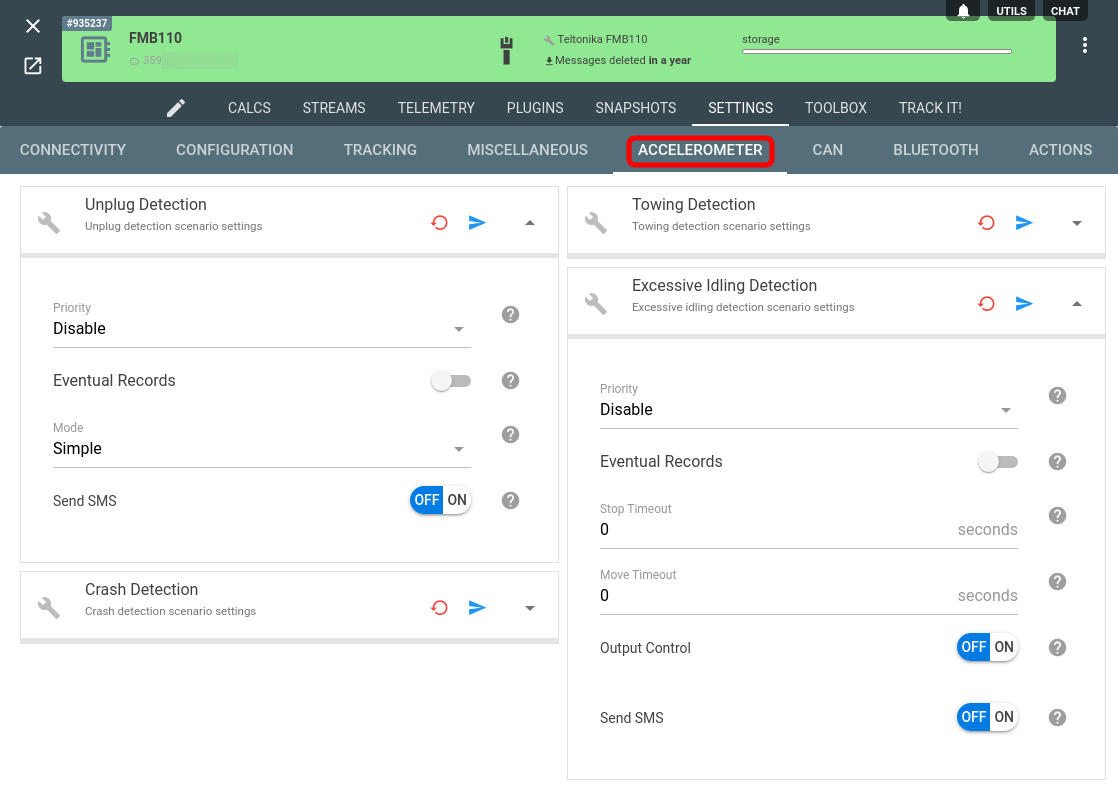
Accelerometer
On the Accelerometer tab, you can set up the criteria to detect various events that the built-in accelerometer can measure (towing, crash, unplugging, idling):
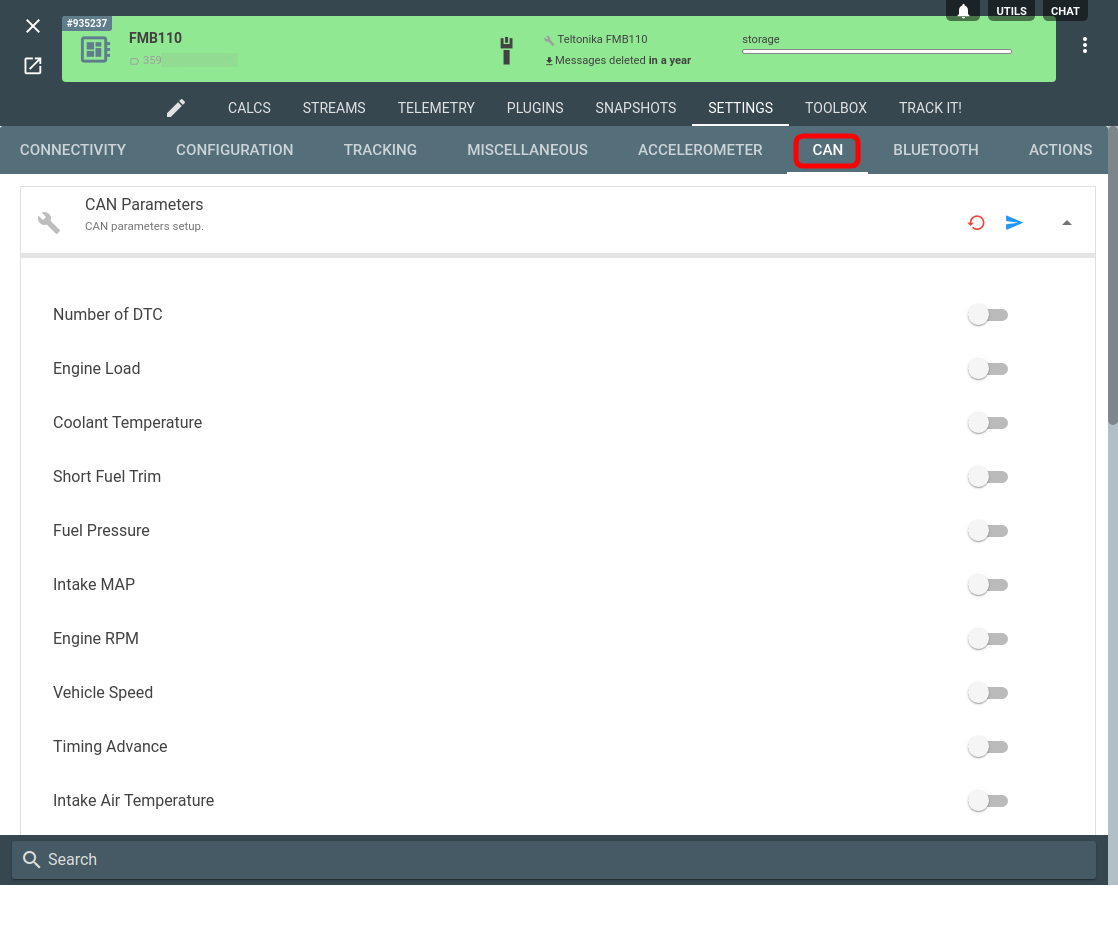
CAN
The CAN tab contains a comprehensive list of all parameters sent via the CAN bus (and there’s a lot of them):
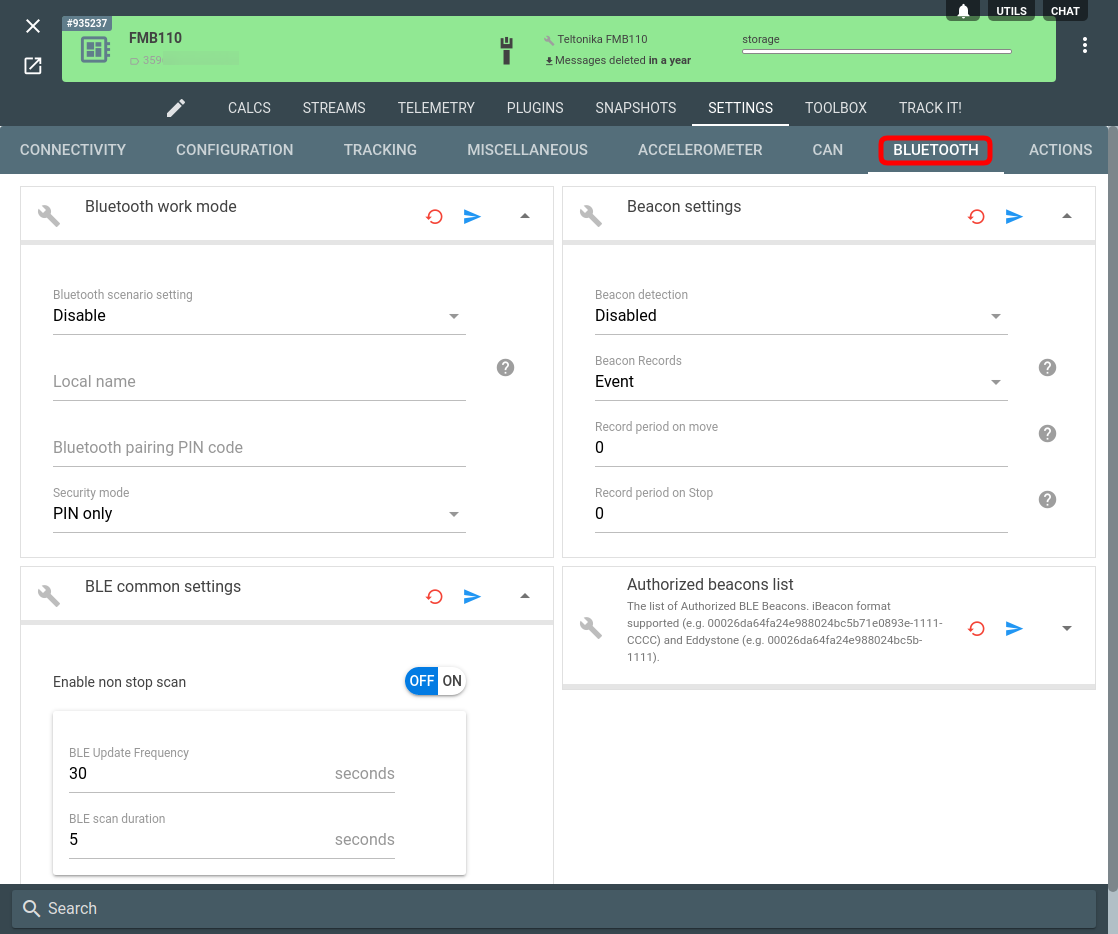
Bluetooth
The Bluetooth tab unsurprisingly contains all the settings dealing with Bluetooth configuration. Pay attention to the beacon settings here — you will need them should you decide to implement asset tracking or another BLE-beacon-based scenario.
Actions
The Actions section is laconic and allows resetting the device if need be:
REST API
The true power of the flespi device configurator lies in its rich REST API — any action performed in the graphical interface can be integrated into your solution using the corresponding API methods.
Note that bulk setting update feature is now also available in SetBox.
Also, check the dedicated article on getting the telemetry data from your Teltonika devices via the API.
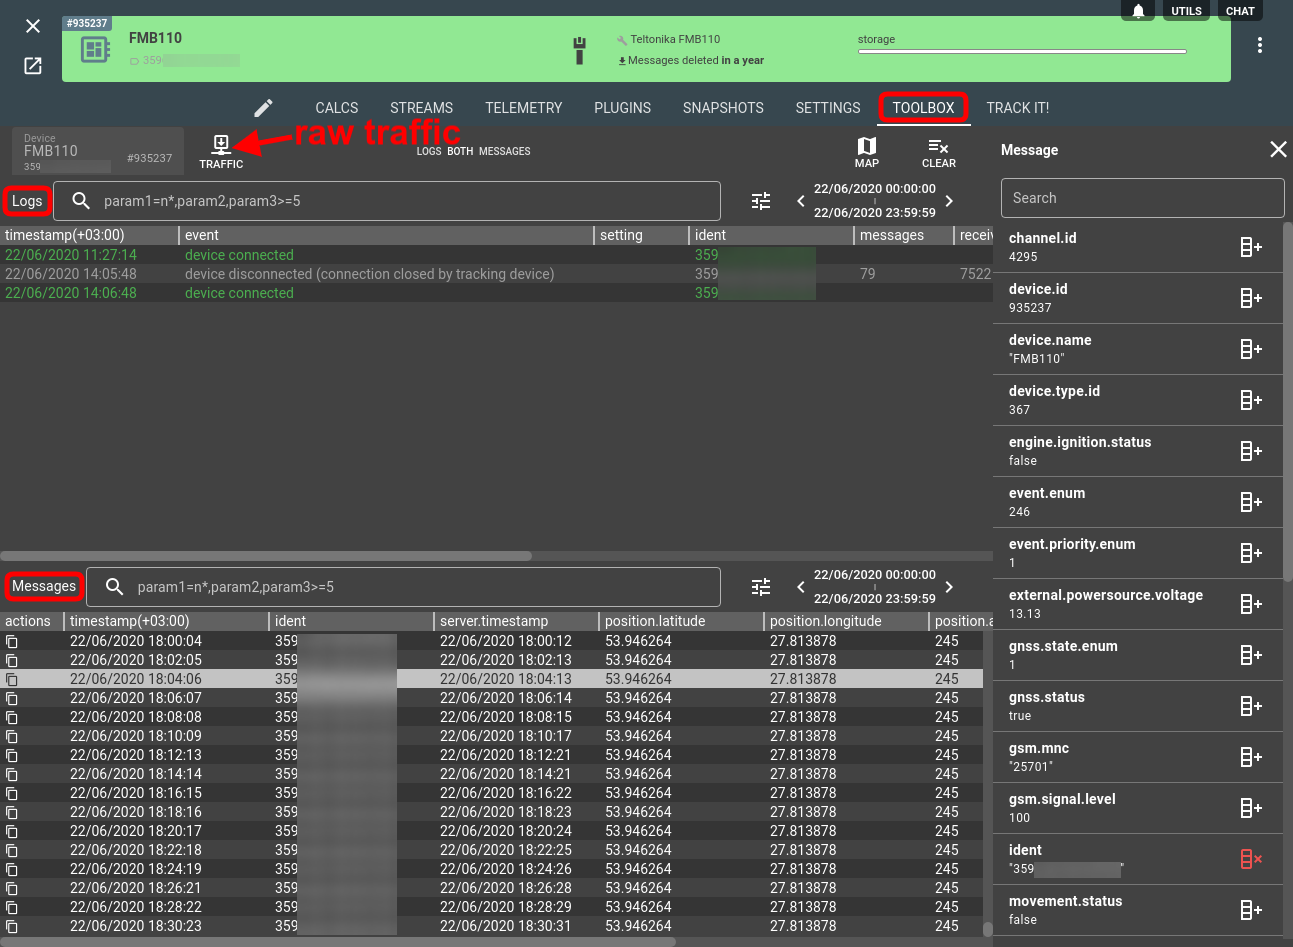
Debugging
Apart from configuring the Teltonika devices from a sleek user interface, you can also debug connectivity issues and monitor the device behavior using our built-in Toolbox tool:
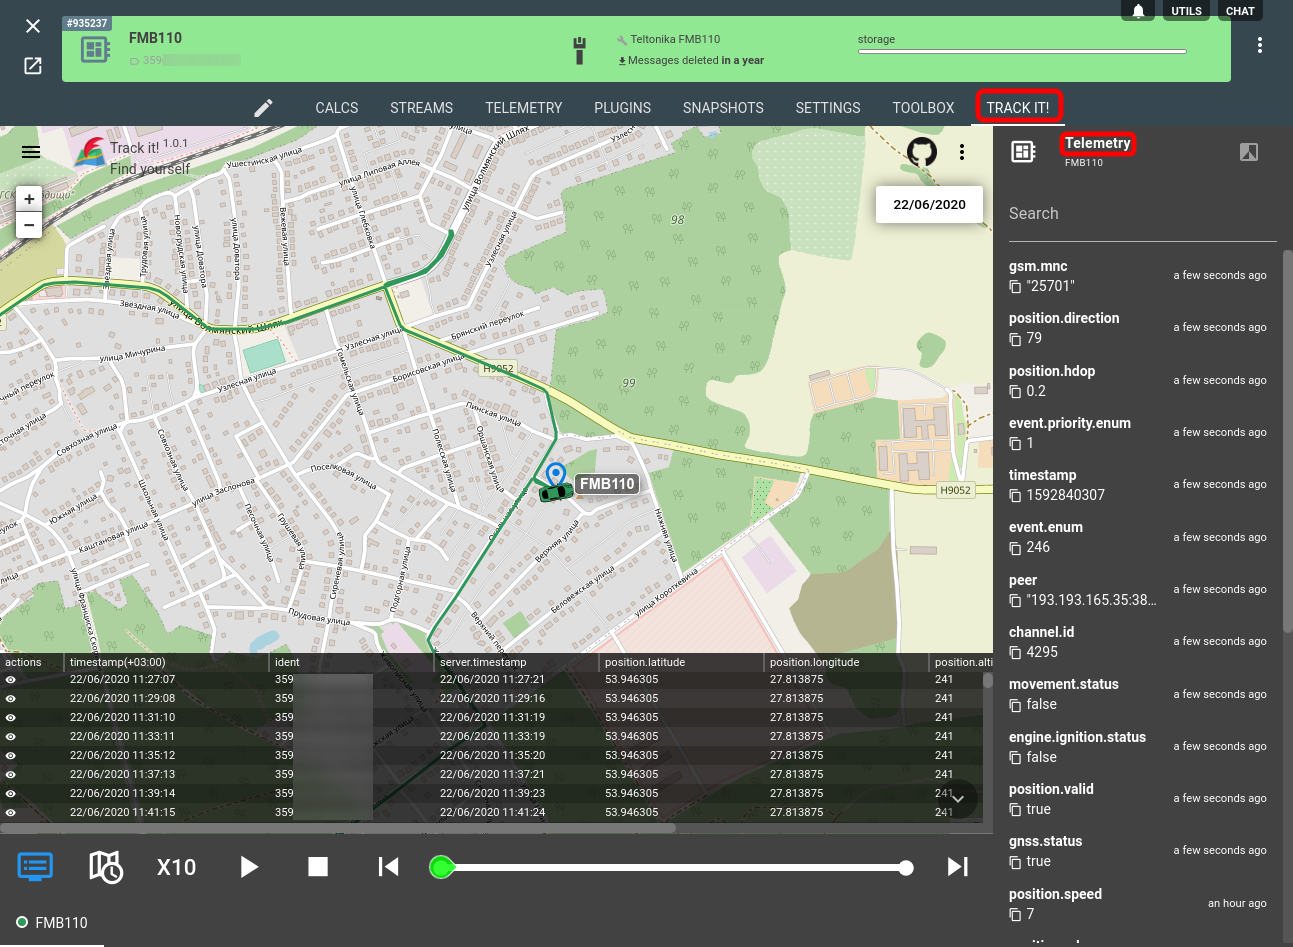
Monitoring
The Track It! tab on the device card opens a basic open-source monitoring service showing devices on the map, detailing their telemetry if necessary and showing the track:
***
As we mentioned above, Teltonika devices offer a host of options and settings to become a perfect fit for whatever application you envision. With flespi as a device management portal adjusting the configuration to your needs is less technical and more intuitive. Log in to flespi.io and give it a try (for free)!
