The main elements of the flespi panel interface are intuitive, though we continuously work on improving it and adding new useful shortcuts and tabs, or enhancing menus. In this article, we’ll cover some basic UI aspects that might not be immediately noticeable but can simplify certain operations, providing quick access to frequently used features and tools.
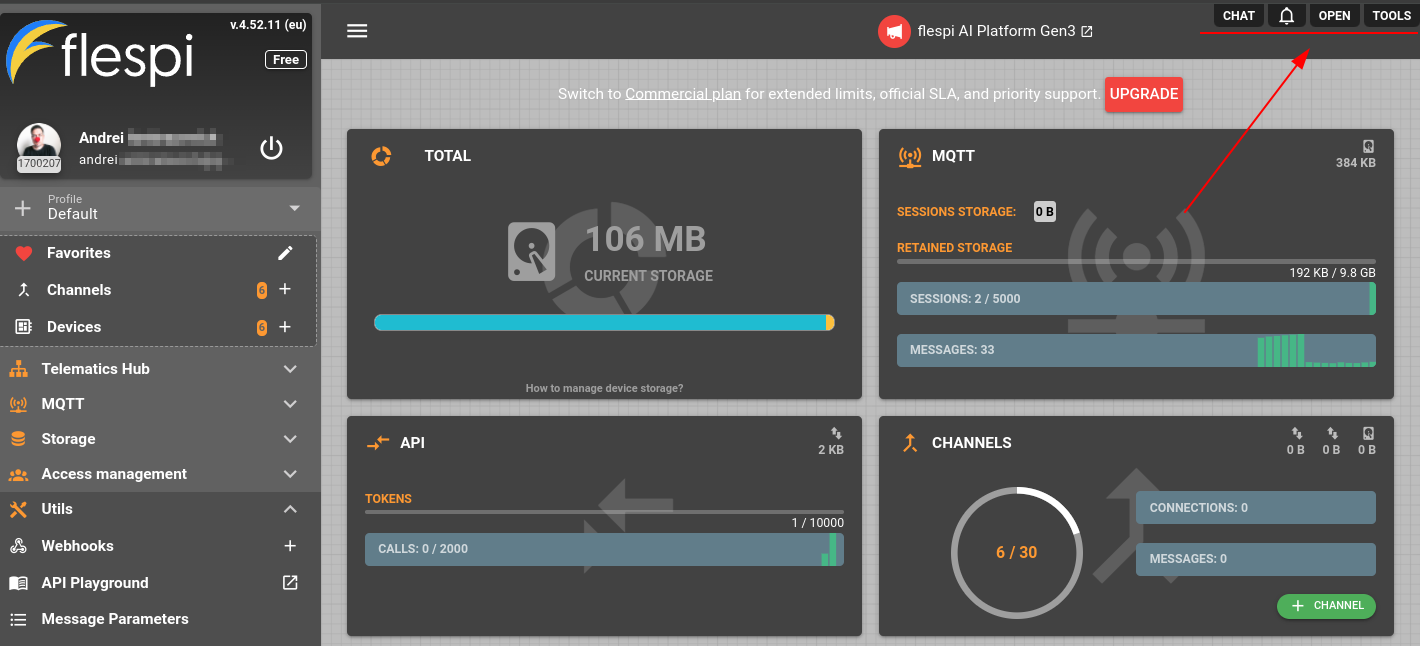
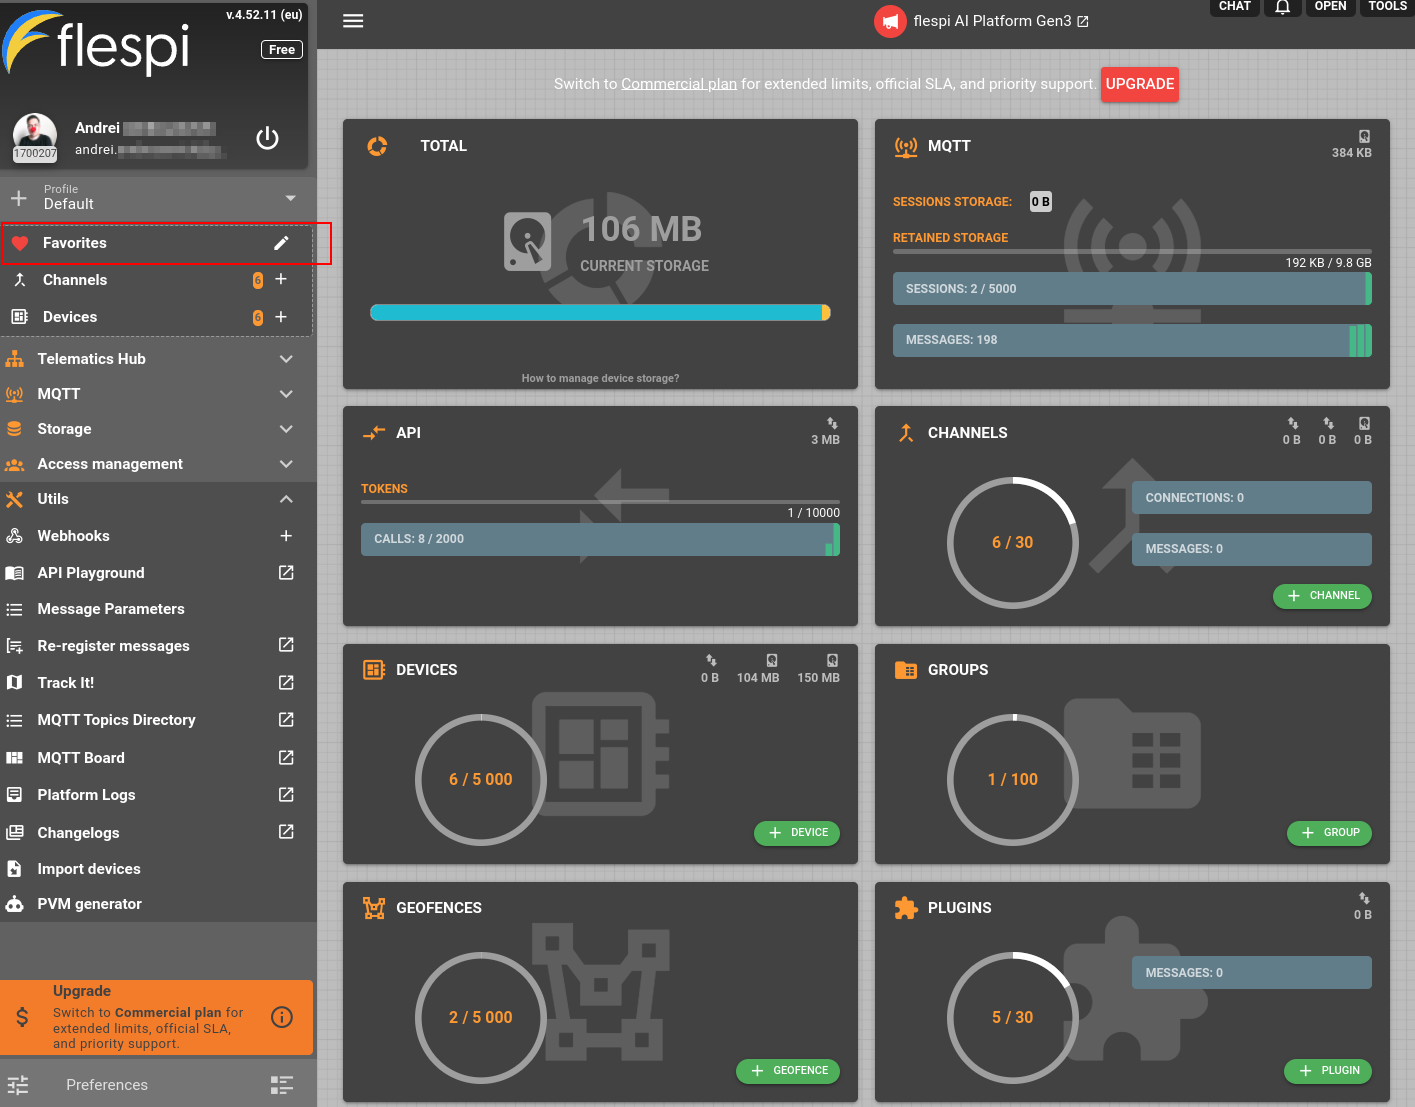
The flespi home screen consists of key sections presented as a list on the left, with the main window used to explore the selected items in the center. On the top right, you will find the Chat, Notifications, Open, and Tools buttons.
Chat will lead to the Helpbox section where you can reach our dev team or meet codi - our smart AI assistant.
Notifications showcase the latest platform updates and news (protocols, knowledge base updates, and minor improvements are also pushed here).
Open helps you navigate to a specific device/channel/etc. by entering its ID.
Tools provide access to various utilities.
Tools
The Tools pane includes quick access to the following items:
API Playground - A comprehensive reference for using the flespi REST API to interact with the platform from your solutions.
Toolbox - Debug and diagnostic tools for all platform elements, detailed logs, and real-time messages.
Re-register Messages - A tool that allows you to re-register messages for a certain period (applicable with channels, devices, and streams).
Expressions Test Tool - You can construct and test your own expressions with the Expressions Test tool
Expression functions - Here you can find expression functions examples and their descriptions
Message Parameters - All available message parameters for a quick lookup.
TrackIt - GPS tracking tool for your devices, including a map, messages, telemetry, track player, and more.
Setbox - Easy setup of trackers from multiple manufacturers via a single user-friendly interface.
MQTT Board - MQTT client tool for easy MQTT publication/subscription, testing, and demonstration with full MQTT 5.0 support.
MQTT Tiles - MQTT-based IoT dashboard visualization tool, also compliant with MQTT 5.0.
MQTT Topics Directory - All available MQTT topics.
PVM Generator - A simple utility for generating PVM code by describing in human-readable text what it should do.
Recycle Bin - A 30-day grace period to recover items deleted from the current account (excluding items from subaccounts).
Changelogs - A list of changelogs for the platform modules and supported protocols (you can set up notifications here for each specific topic).
Filter bar
The Filter bar is located at the bottom of the home screen of your flespi panel.
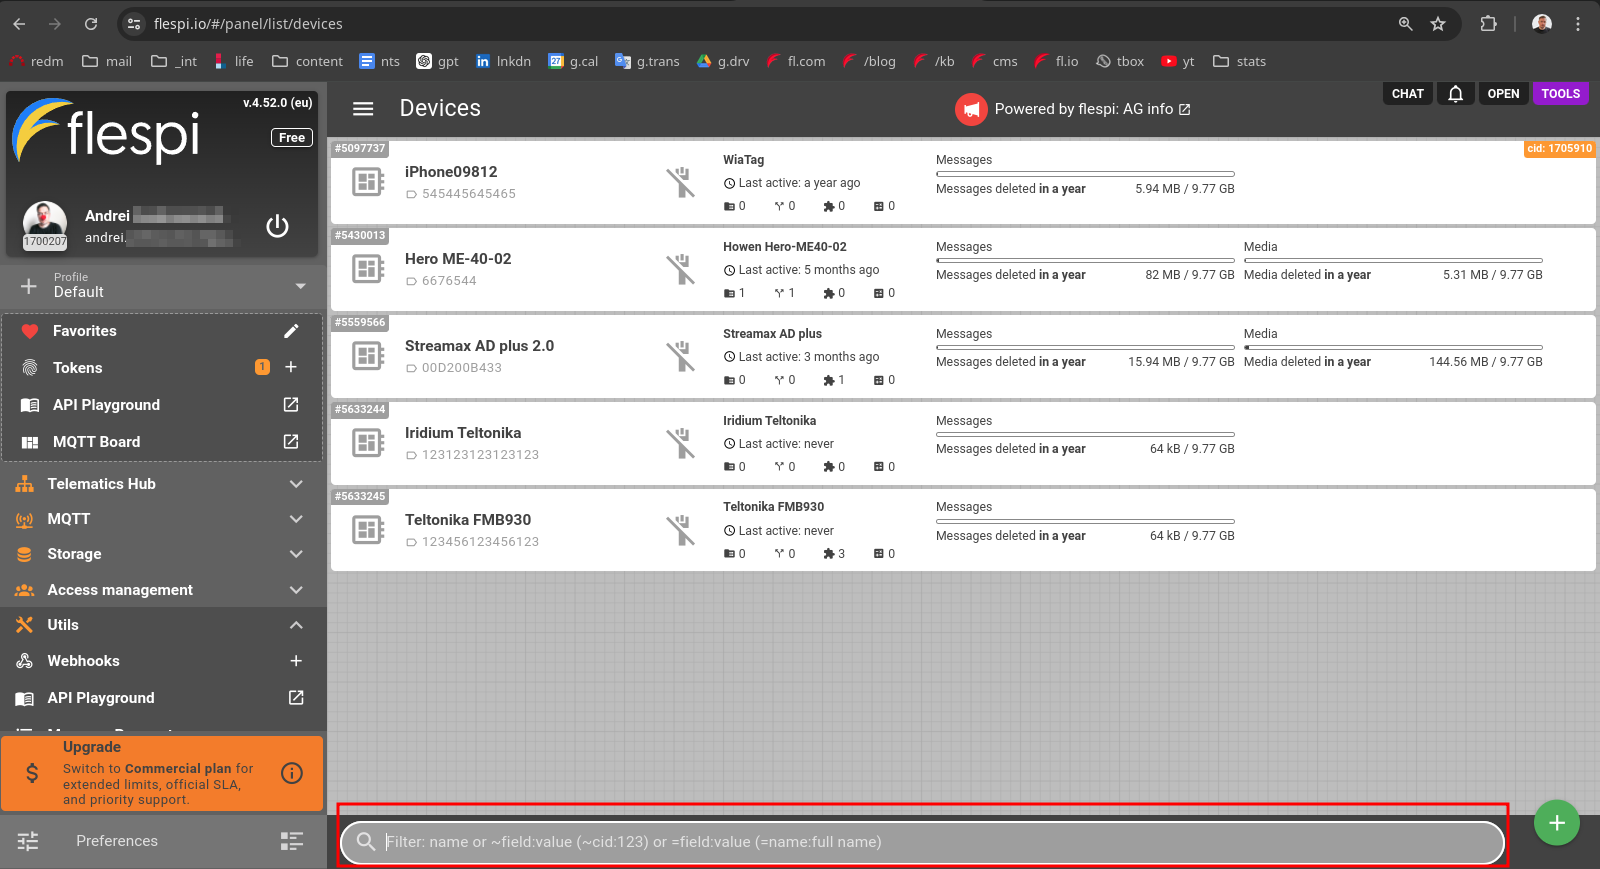
Here you can type any part of an item you’re looking for - if any matches are found, they will show up. Please note that the field will be highlighted in green if your search syntax is correct; otherwise, it remains gray meaning the input is not valid.
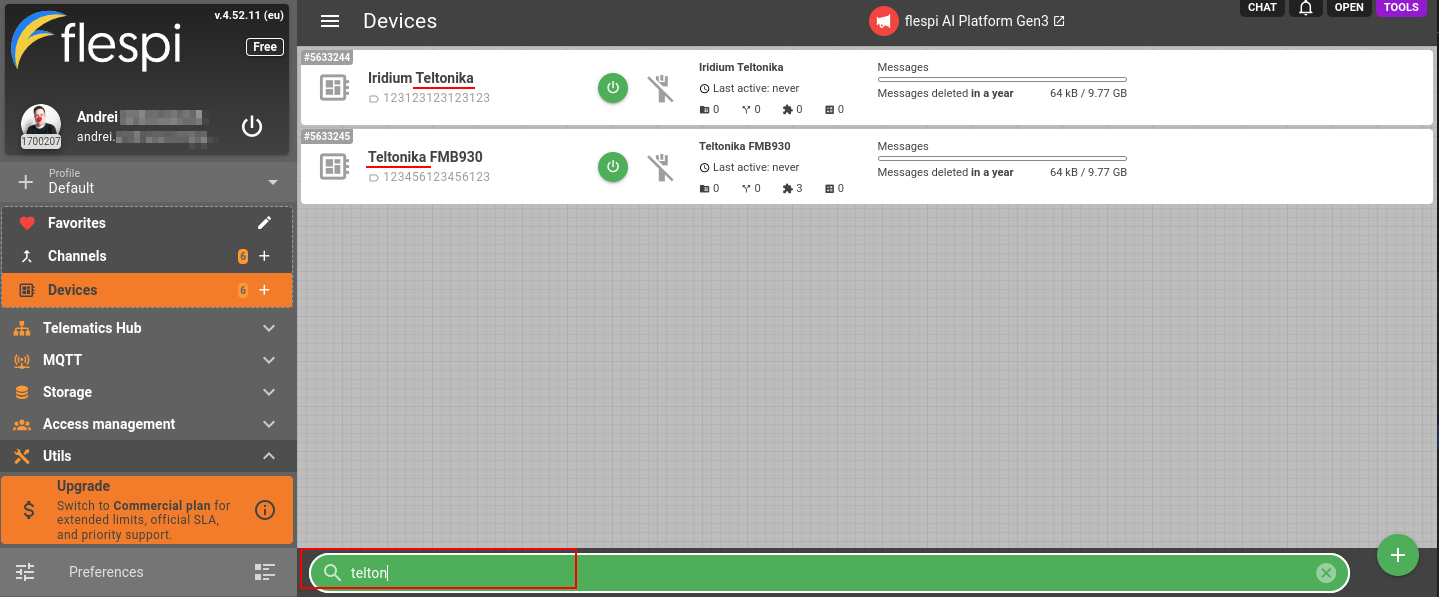
The Filter bar provides a quick lookup for any flespi item referring to the section you have previously selected from the main menu on the left. For example, if you click Telematics Hub > Devices and start typing, the search will look for devices parsing their ‘device name’, ‘device ID’, or ‘IMEI’. If any matches are found, the corresponding devices will appear. If you navigated to Telematics Hub > Channels, you’d search for ‘channel ID’, ‘channel name’, ‘host’, and ‘port’. Wildcards are allowed, so if you need a strict search rule, you can enclose the search condition in quotes “...”.
You can find the list of fields in API Playground > Devices. Don’t forget about the exclamation marks wrapping the expression.
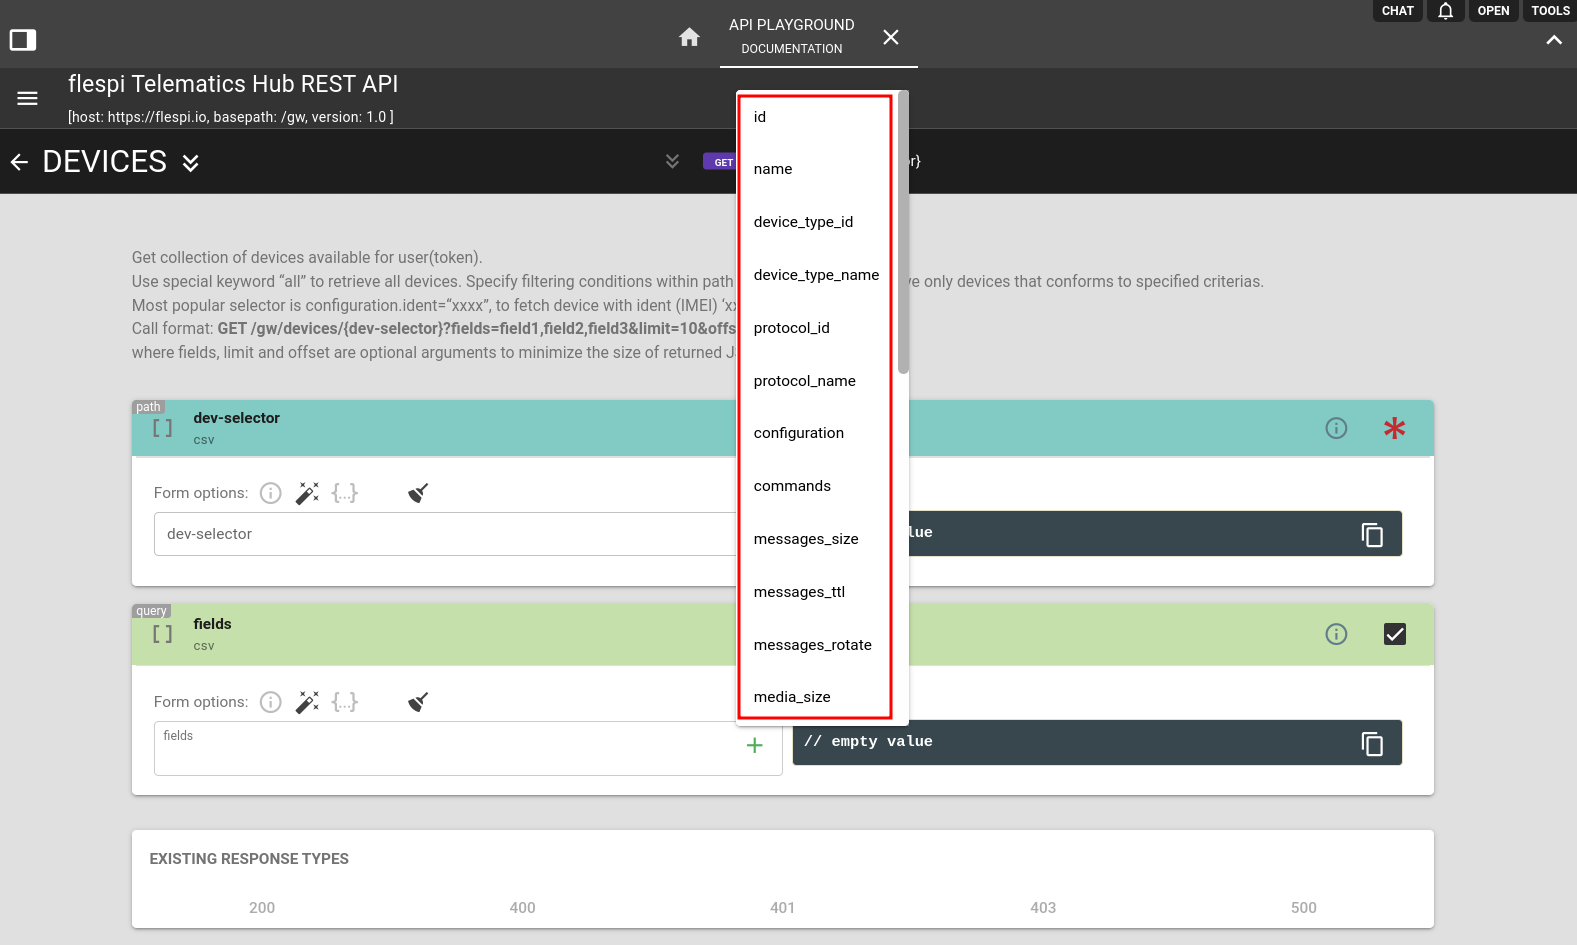
Examples of using custom field values:
To show only connected devices: !{connected==true}!
To show only blocked devices: !{blocked==true}!
To see only devices that have the engine running now: !{engine.ignition.status==true}!
To search for devices not connected for longer than 24 hours: !{last_active < (now() - 86400)}!
To show two different devices by their idents: !{configuration.ident="545445645465" || configuration.ident="00D200B433"}!
To show only devices located no further than 10 km from specific coordinates: !{distance(telemetry.position.longitude, telemetry.position.latitude, 23.000923, 23.9090909) > 10}!
Favorites
This UI option allows you to choose custom menu items to be displayed at the top of the list, providing quick access to the most frequently used menu items. To select an item, click the ‘pencil’ icon to edit, then click the ‘heart’ icon next to any item in the main menu. You can add as many as you like.
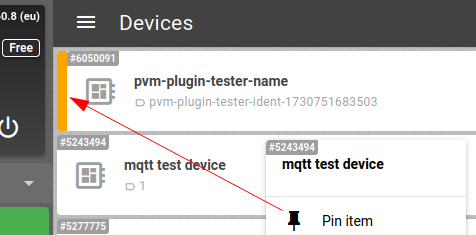
You can use the ‘Pin item’ option available in the context menu (right button mouse click) for any of your devices, channels, etc. Pinned items have orange bar on the left side of the item card.
Experimental features
To access functionality marked as experimental in flespi panel you need to activate it first. Click on your email in the top-left corner to open panel settings, navigate to Appearance tab, check Experimental features and click on green Save button to apply it.

After that experimental features will be unlocked in your flespi panel.