When you have a physical GPS tracker at hand, you can set it up to send data into flespi, properly organize the received data inside the platform, and use it in the solutions you are developing.
This is a generic quick start guide that can be applied to any device. For some manufacturers we have more specific guide which we suggest you to use:
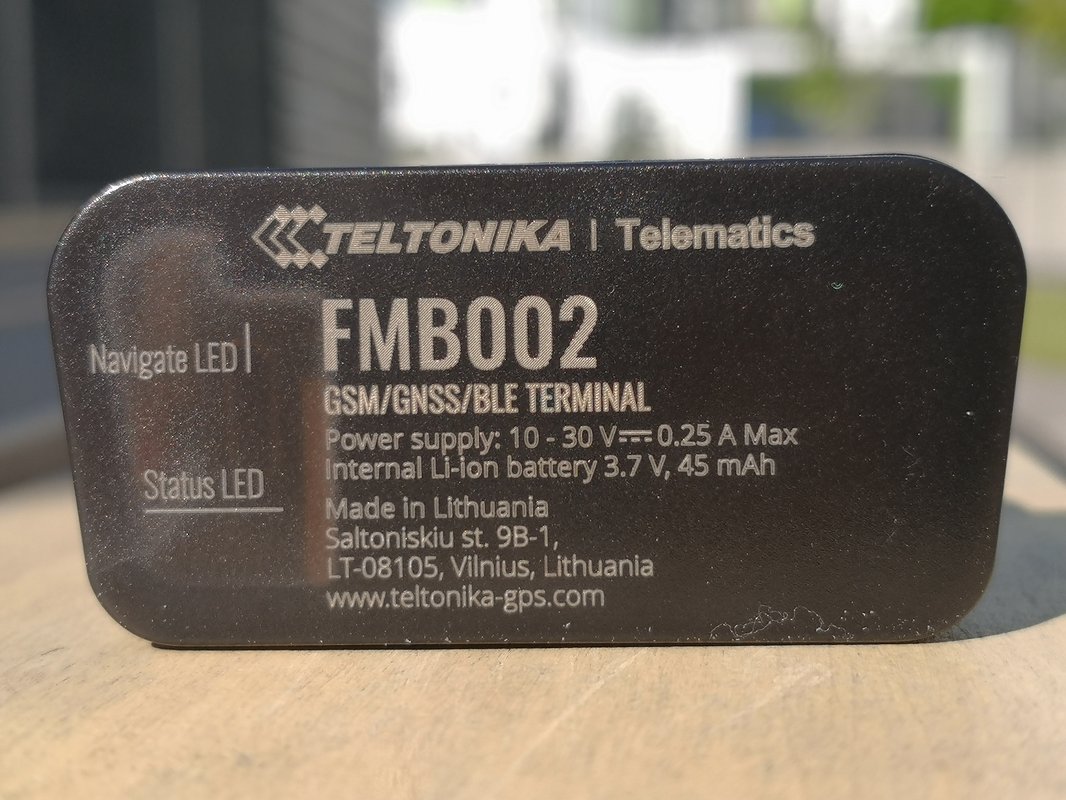
Here’s the basic sequence of steps you want to follow to have the data from your tracker available in the flespi platform. For demonstration purposes we are using Teltonika FMB002 here.
Channel
- Create a channel (open the flespi panel -> Telematics hub -> Channels -> "+" button) with the protocol corresponding to your device manufacturer:

- Point your tracker to the Host:Port of your newly created channel.

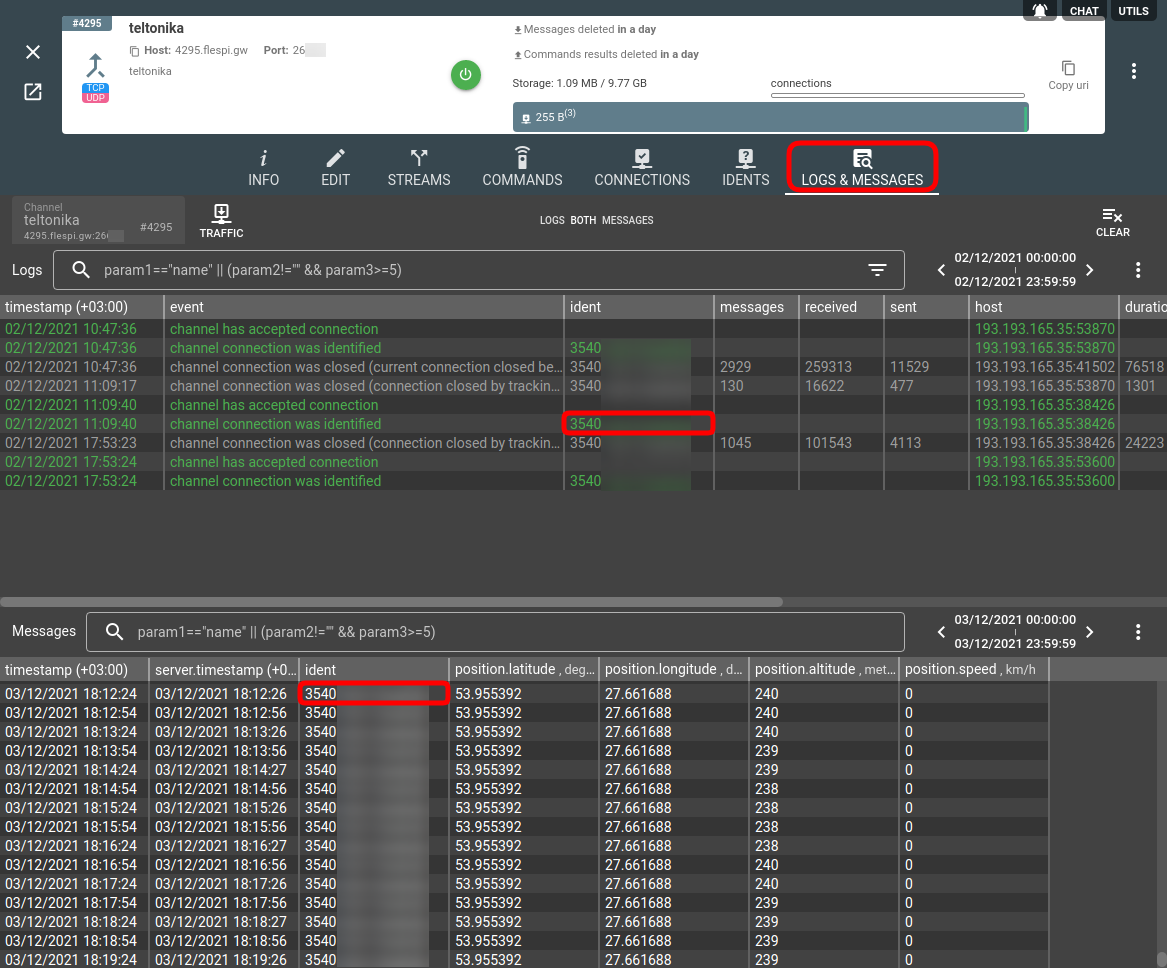
You can do it via SMS or using a configuration tool provided by the manufacturer. - When done, make sure your device is set to send its position and open the Logs & Messages tab for your channel to see if messages are coming:
Device
Flespi is a device-centric platform. It means that most of the platform functionality is available on the device level:
(a) access to telemetry (last state of all parameters)
(b) over-the-air device configuration capabilities
(c) plugins to post-process messages received from devices
(d) intervals aggregated based on your custom logic
(e) dedicated long-term message storage (up to 10 years).
Steps to create a device are as follows:
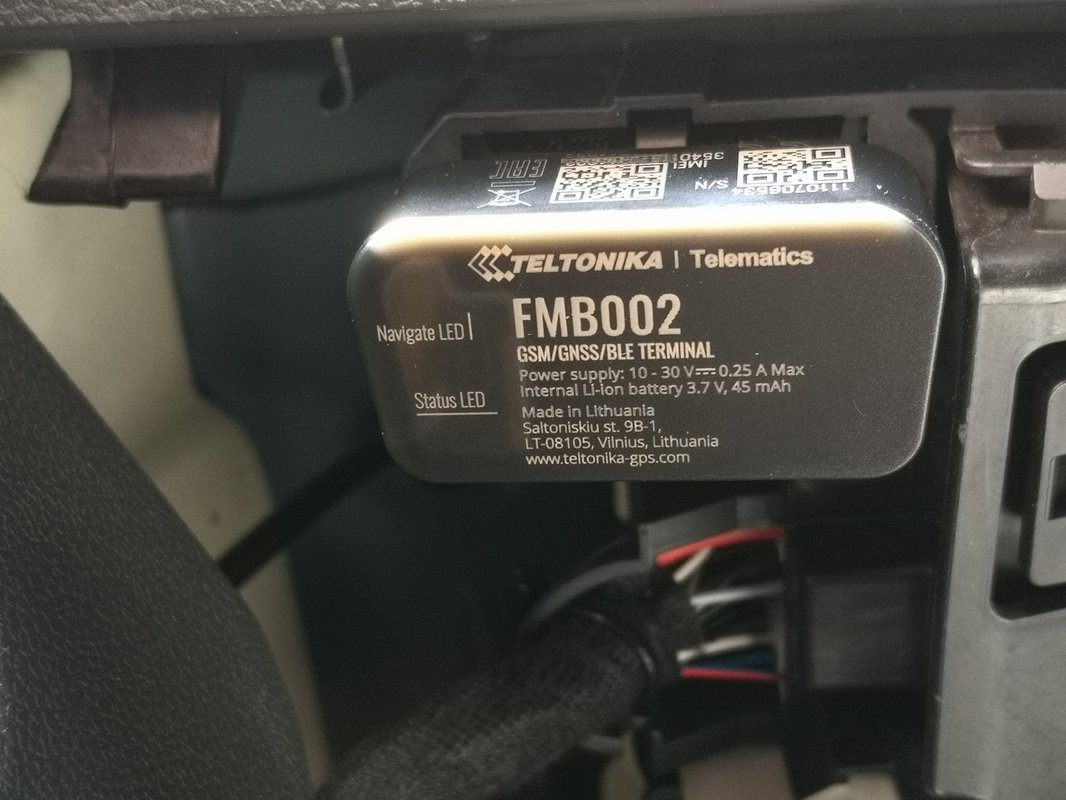
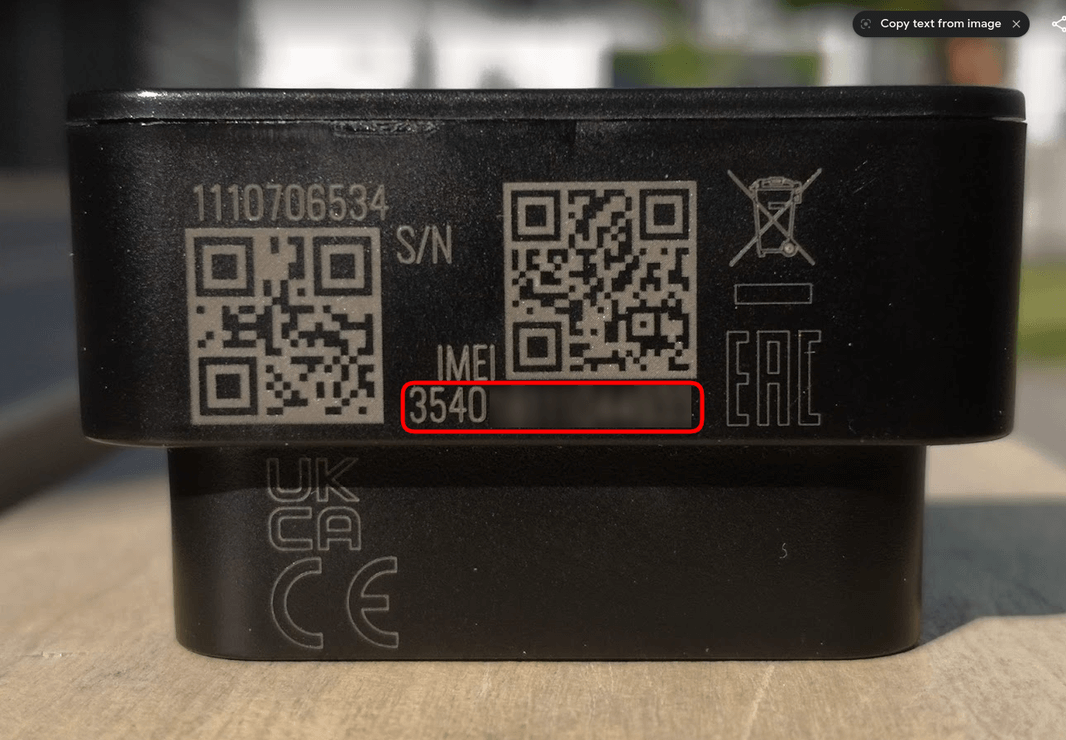
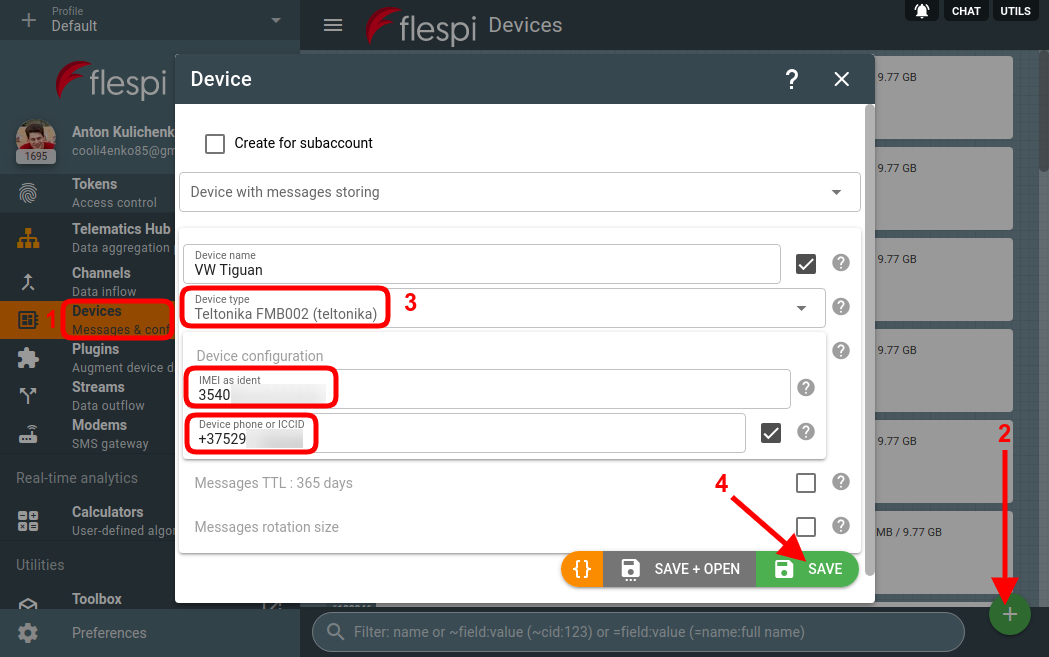
- Open the flespi panel -> Telematics hub -> Devices -> "+" button. Use the IMEI printed on the device case to populate the ident field.
Or find it in the ident column in the logs on the channel Logs & Messages tab: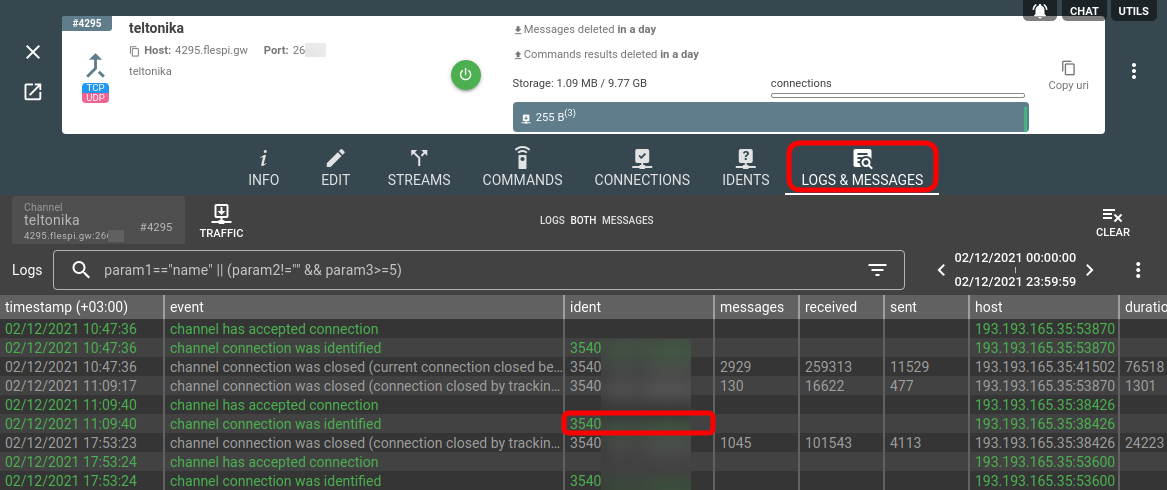
- Pick device type corresponding to your device model. Save.
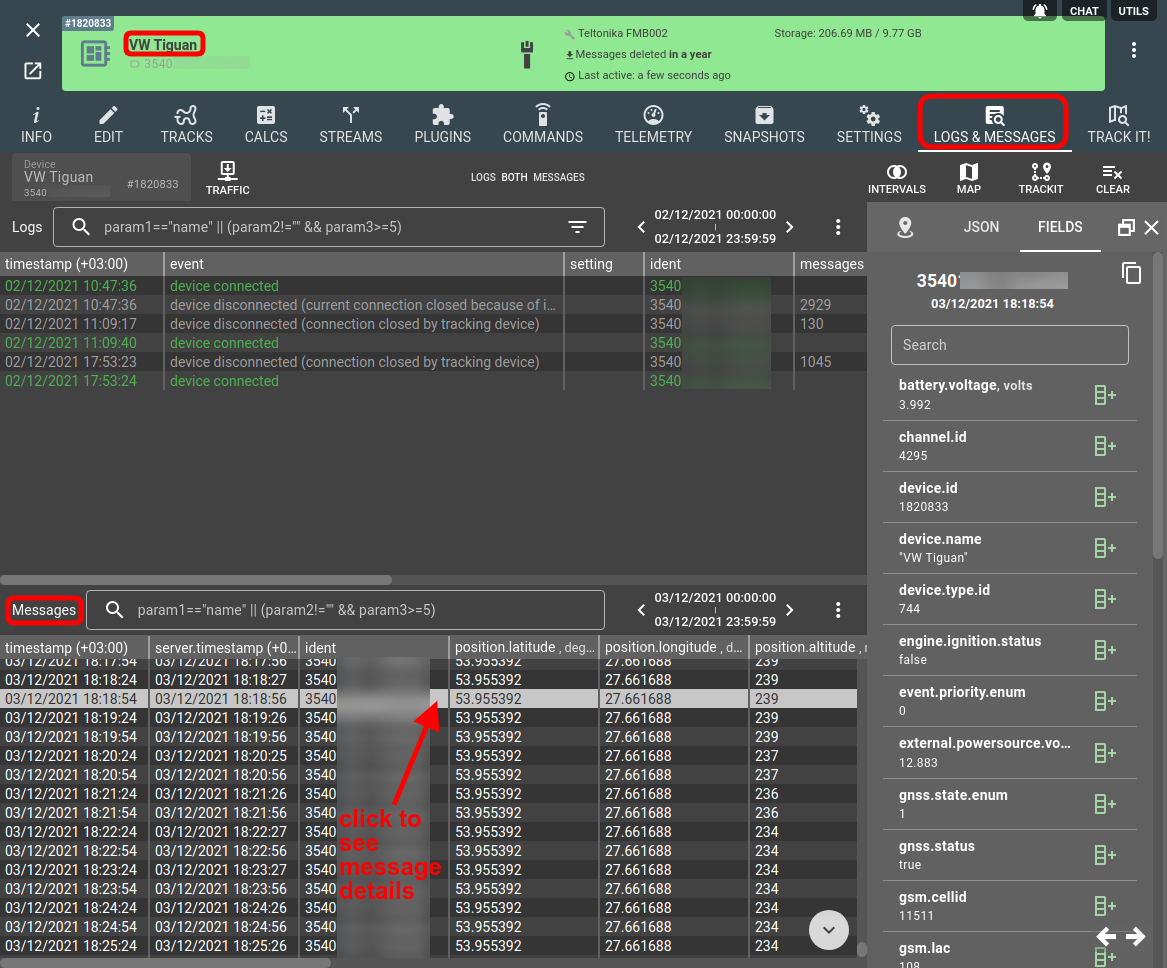
- Open the Logs & Messages tab for your device to see if the messages from the tracker with the given ident (IMEI) successfully come to flespi:
Access to data
Once the data gets into flespi, you want to access it to use inside your solution. This can be achieved in three ways:
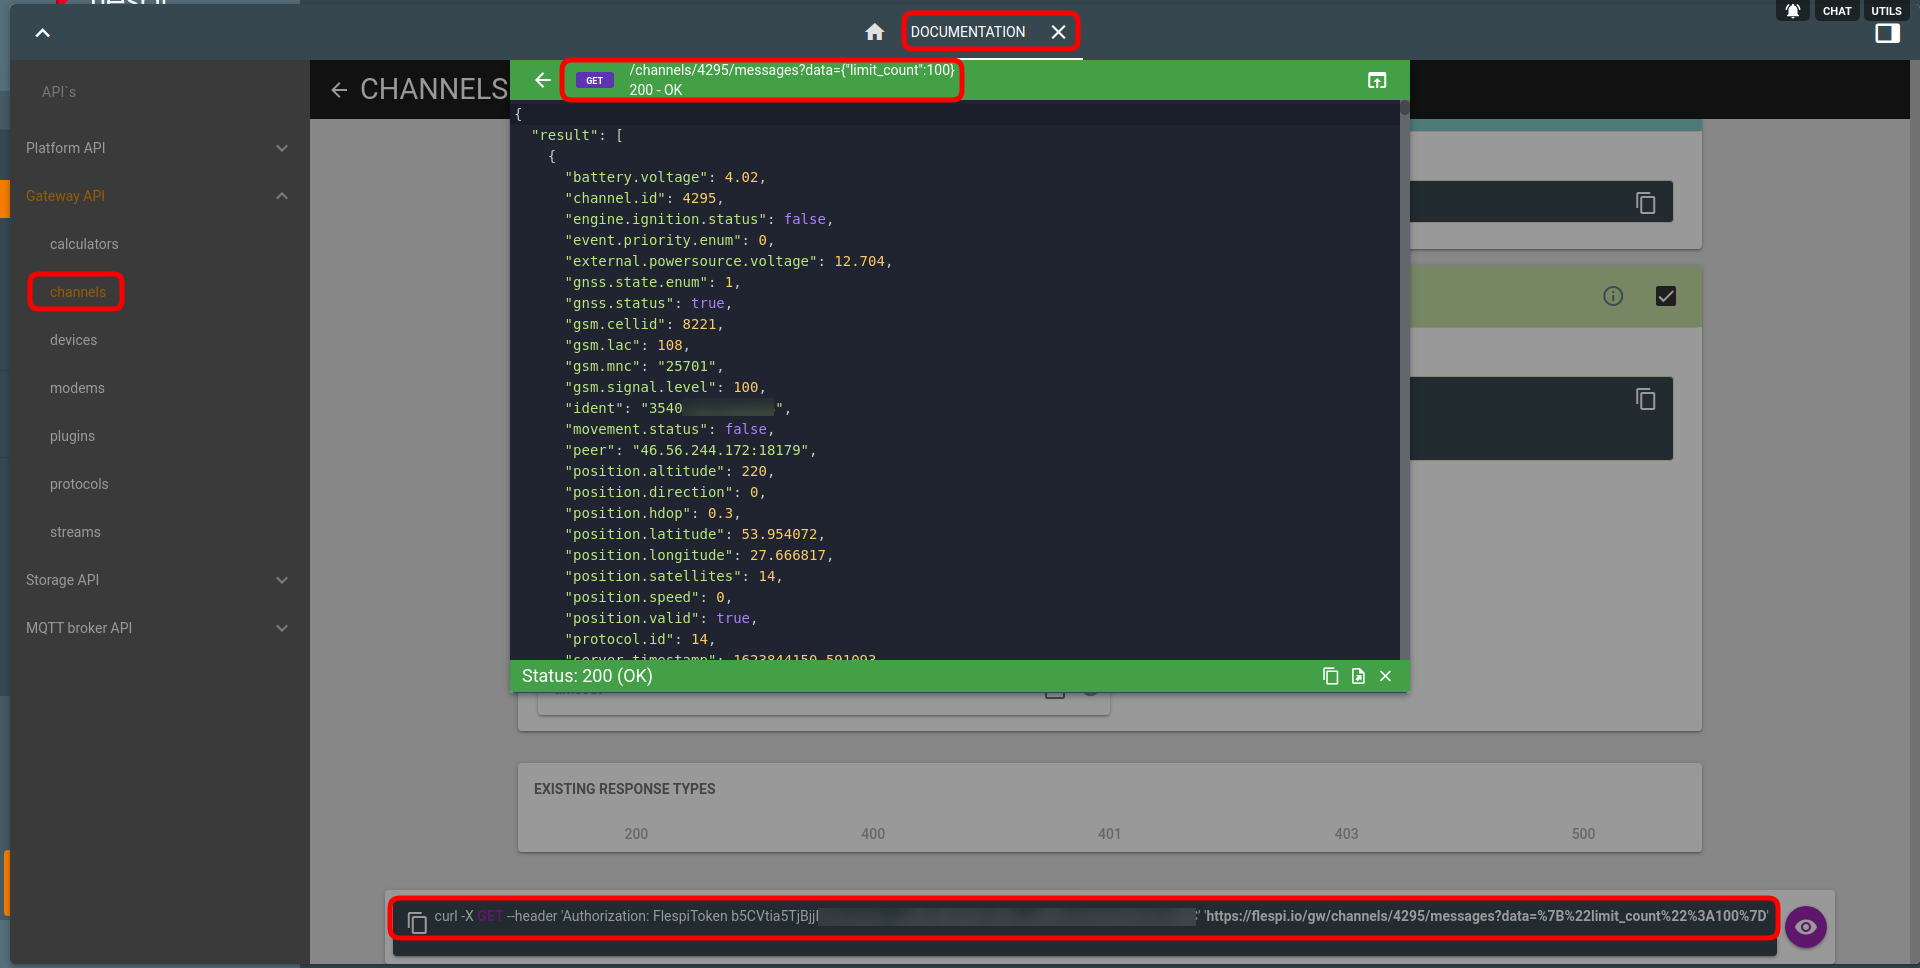
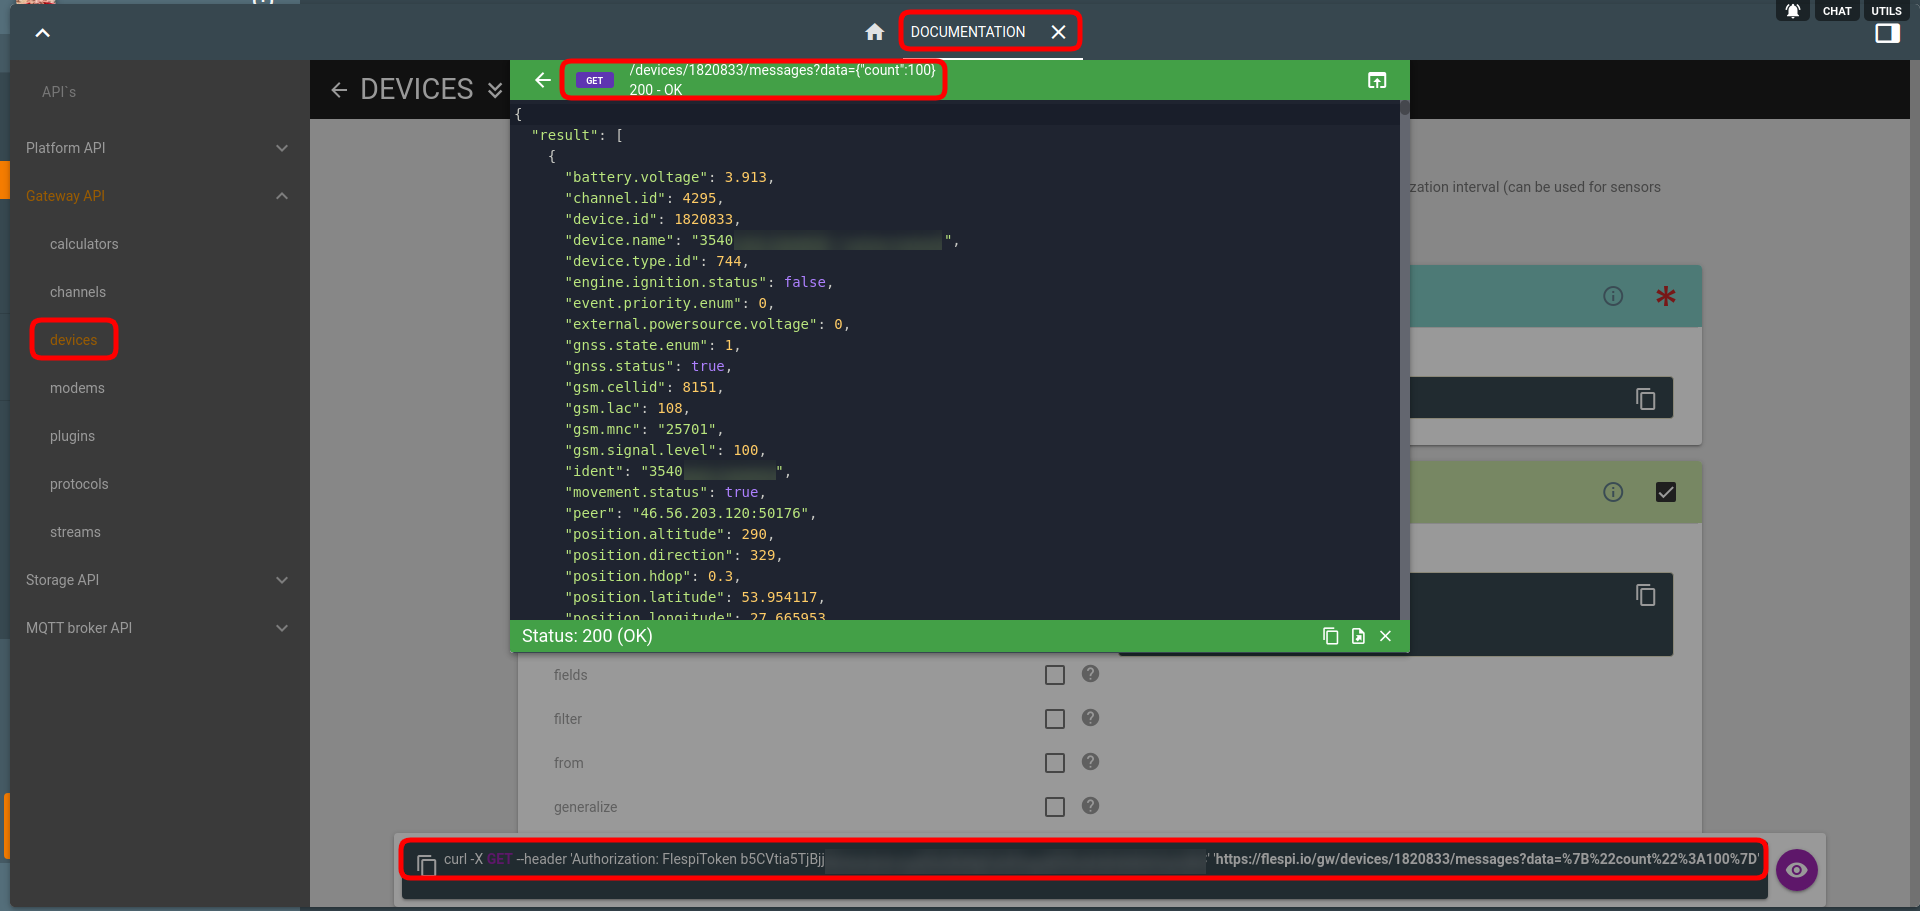
1. REST API
- For channels: https://flespi.io/docs/#/gw/!/channels
- For devices: https://flespi.io/docs/#/gw/!/devices
2. MQTT API
- For channels: flespi/message/gw/channels/{channel_id}/{ident}
- For devices: flespi/message/gw/devices/{device_id}
3. Streams to specific platforms.
What's next?
The best way to explore flespi capabilities is to watch detailed videos from our conference. Invest your time into watching them to save much more time and money later, when you will implement your project: